Requiem for an icon

It’s been a couple of years and life has flown by. Time flies when you’re having fun, and I’m grateful when I say I’ve been busy. Life has been good. Healthy and happy family, work has been solid, and I’m fortunate to be able to enjoy my hobbies. I owe you all an update, but that’s not why I’m writing.

About two weeks ago, my day started like any other day. Getting woken up by Max (our beloved cat), feeding him, and sleepily reading through my emails. One caught my attention in particular: Jack Lawrence had passed away. Yes, the Jack Lawrence.

When you buy a vintage Saab, especially a Sonett, you learn who Jack is pretty damn quick. After all, there are very few solid sources for Sonett parts. But dealing with Jack and his lovely wife Pat was not just buying an auto part. You got to deal with arguably the most knowledgeable Sonett person on the planet. Think about that for a minute. If you owned a Shelby GT500, wouldn’t it be awesome to pick up the phone and talk to Carroll Shelby? If you had a new Corvette, how cool would it be to zip an email to Chief Engineer Tadge Juechter (or maybe Zora Arkus Duntov for you vintage Vette guys)? Dealing with someone who has immersed themselves 100% into their area of expertise is always a pleasure, you know you’re going to be in good hands!

A trip to an auto parts store these days means you’ll be lucky if the sales associate can get the make, model, and year right. If you own a Toyota Camry or Ford F150, you’ll probably be fine… maybe… But good luck getting the best clutch for your V4 gearbox at your local chain auto parts store. Or a refurbished distributor. Or custom forged pistons. To make my point, my brother recently walked into a local auto parts store in his hometown. He lugged in the 40 pound battery out of his Corvette and plopped it onto the parts counter. The associate looked at him, and says: “Let me guess, you’re the guy that just called about the brake calipers…?”

But dealing with Jack was more than just dealing with an expert. Or a guy that gets you the right part. You felt like you were dealing with someone who cared enough about your project to listen. And although he definitely knew more than you, he never talked down to you. As a Sonett rookie, I was ready to build a 200+ HP V4. He could have laughed me off, but instead found ways to help me get where I wanted to go. And that’s always it, we have someplace we want to go, don’t we? Whether it’s building a perfectly restored vintage Saab, buying our dream home, or seeing the kids succeed, we have a destination in mind. I had heard rumblings that Jack had wanted to retire, but never reached that station. But his list of accomplishments was long: served in the US Air Force, SCCA racing legend, aircraft mechanic, and more.

Often times we get tunnel vision, and the destination becomes all we can think about. To the point where we miss the whole reason for living, and that is the journey itself. After all, the Saab motto was “Find your own road”, was it not? Jack lived the vintage Saab life, and you felt his passion even through the phone from hundreds of miles away. I think there is a lesson to be learned there. Even into his late eighties, his passion kept him young at heart and sharp as a tack to the end. We have to keep piling up the good times and great memories, because at the end of the day, that is all we really have. As an auto enthusiast, we all know that most of the time, the journey is better than the destination. Jack may not have been pulling 1.0 G in the corners these days, but he didn’t put his life on hold just because he wasn’t racing anymore. He backed up, but he didn’t give up.

I had second thoughts about writing this. After all, I’m a nobody. I’m not a vintage Saab expert like Jack. I wasn’t his best friend. Nor a longtime business associate. But I wanted to write something that memorialized him, his passion for Sonetts, and his legendary work ethic. He made the road trip for as long as he could, and brightened the lives of everyone he talked to. I cannot, for the life of me, think of a single time that anyone ever had a bad word to say about Jack Lawrence. He didn’t just make his life the best journey he could, he made every one else’s the best he could too. And that reminds me of something I once read…

The Station
Tucked away in our subconscious is an idyllic vision. We see ourselves on a long trip that spans the continent. We are traveling by train. Out the windows we drink in the passing scene of cars on nearby highways, of children waving at a crossing, of cattle grazing on a distant hillside, of smoke pouring from a power plant, of row upon row of corn and wheat, of flatlands and
valleys, of mountains and rolling hillsides, of city skylines and village halls.
But uppermost in our minds is the final destination.

On a certain day, at a certain hour we will pull into the station. Bands will be playing and flags waving. Once we get there so many wonderful dreams will come true, and the pieces of our lives will fit together like a completed
jigsaw puzzle. How restlessly we pace the aisles, damning the minutes for loitering – waiting, waiting, waiting for the station. “When we reach the station, that will be it!” we cry. “When I’m 18.” “When I buy a new 450SL
Mercedes Benz!” “When I put the last kid through college.” “When I have paid off the mortgage!” “When I get a promotion.” “When I reach the age of retirement, I shall live happily ever after!”


Sooner or later we must realize there is no station, no one place to arrive at once and for all. The true joy of life is the trip. The station is only a dream. It constantly outdistances us. “Relish the moment” is a good motto, especially when coupled with Psalm 118:24: “This is the day which the Lord hath made; we will rejoice and be glad in it.” It isn’t the burdens of today that drive men mad. It is the regrets over yesterday and the fear of tomorrow. Regret and fear are twin thieves who rob us of today.


So, stop pacing the aisles and counting the miles. Instead, climb more mountains, eat more ice cream, go barefoot more often, swim more rivers, watch more sunsets, laugh more, cry less. Life must be lived as we go along. The station will come soon enough.

  • Robert J. Hastings

RIP to the late, great, John “Jack” Lawrence.

https://www.post-journal.com/obituaries/2020/09/john-h-jack-lawrence/

JMC 10/4/2020

Product Spotlight #3 & The Grand Finale: Max effort V4 long block

Well, with the Sonett officially off to Connecticut today to join up with it’s new owner, it’s time to list the last piece of the What on Earth is a Sonett sweepstakes!  [UPDATE 4/24/19:  The engine is now sold as well!] Looking back, I actually have more money into the engine than the chassis.  It’s hard to believe, given the amount of time spent on the chassis.  With the engine, it’s the components and machine work that definitely add up!

The plan for the engine was simple:  create the most powerful Saab V4 of all time.  And this long block is ready to deliver!  Most of the upper end engines built by some of the Saab greats have crested in the 180-190 HP range, impressive given what that motor came with for horsepower bone stock.  And there were whispers of a Saab factory effort cresting over 200 HP using a turbo back in the day.  I didn’t want there to be any doubt, so this was designed to handle a full on sequential fuel injection system (available separately!), a high end Borg-Warner EFR series turbo, and methanol injection.  Power was to start at around 220 HP and crest in the 270 HP range under “full kill” tune.  To handle that, this is a summary of what was done:

  • Full hot tanked and cleaned Saab V4 block out of my 30,000 mile ’72 Sonett.  This received the same machine work as Donnie’s (machine shop owner) 1000 HP ZL1 Camaro.  With 30+ years of Ford and past V4 machine work experience, there was no better choice of machine shop.  The piston bores were opened up to fit the new custom pistons (more on that in a second), and the high tech boring & honing machines did a beautiful job.   The deck was checked for straightness and the main crank journals checked for alignment.  New cam, balance shaft, and main bearings were fitted.  Block casting was then painted in POR-15 to protect against rust.
  • Crankshaft was cleaned, Magnafluxed to ensure no cracks, journals polished, and balancing brought up to modern standards.
  • Rods were resized to match the crank perfectly and to fit the new pistons.  Top of the line ARP rod bolts were installed (accept no substitutes!).  Rods were also balanced.  New rod bearings were provided too. 354cd8d3-73bb-483f-a524-0d50f3b223b1
  • New Wiseco forged pistons were selected for their strength in boosted applications.  These were personally specified by Saab V4 legend Jack Lawrence of Motor Sport Specialties (MSS).  Included new matching rings, which were custom file-fit and installed on the pistons by my machine shop.  The new forged pistons were then hung on the connecting rods by the shop too.  The new pistons bring the compression up (along with the revised combustion chambers) to 9:1 compression.  Up a full point for much better power off-boost, but still low enough for proper turbocharging.
  • ONE OF A KIND, custom CNC-ported V4 heads.  Yes, you read that right.  I had a mechanical engineer write a personalized CNC program and personally oversee my cylinder head modifications.  We chewed through a number of scrap V4 heads until the program was absolutely perfect, then my actual heads were cut (after a proper cleaning, disassembly, and Magnaflux by the machine shop).  The end result are heads that are practically jewelry!  Every runner, every combustion chamber, is exactly the same.  This gives you consistent performance across all four cylinders.  The chambers were unshrouded to allow the oversized intake and exhaust valves to do their job.  This also allowed us to run the forged flat top pistons without too high of a compression ratio.  The silly and way oversized intake valve boss was removed to open up the intake runner, and the exhaust port reshaped for a dramatic increase in flow without hogging out the port (preserving velocity!).
  • The heads were professionally cleaned yet again after the CNC machine work and the heads resurfaced to ensure a perfectly flat surface.  New valve guides were installed, and a 3 angle valve job performed.  New higher performance valve springs from MSS were installed, along with spring dampers  and new retainers.  New viton valve seals and cooling jacket plugs too, of course.  POR-15 paint was then applied to the exterior of the heads to protect against rust.a250a5df-e845-4f17-9398-96d94a18be03
  • Jack Lawrence then specified a performance cam that would deliver results in streetable manner with great drivability, without sacrificing power.  He also sent along new lightweight lifters to replace the original ones.  Lastly, he sold me a full metal timing gear set to eliminate the durability concerns of the original “fiber” gear ones.
  • Brand new oil pump and oil pump driveshaft were installed using Royal Purple Max-Tuff assembly lube.  An original NOS oil pan was sourced, stripped, and powdercoated to look original but last much longer.  New stainless bolts were used to secure the oil pan.
  • A rare, no-fan-bearing, V4 timing cover was sourced.  It was then soda-blasted to remove the old paint, and then covered with POR-15’s Detail Paint to simulate fresh cast aluminum. e2f85e80-6742-4a4b-b7d9-d31af4ba78e7
  • Engine was assembled with custom ARP main and head studs to seriously improve clamping force and even torque across the crank and heads.  An expensive, but correct, insurance policy on a high end motor.  Every gasket and seal is brand new, as expected.
  • The flywheel was lightened to Saab Sport & Rally specs, resurfaced for new clutch work, and then machined by MSS to allow the use a diaphragm clutch.  This is a massive improvement over the factory style clutch!  The clamping force is superior to even a race version OEM-style clutch, but the pedal is light and easy to engage.  You get the best of both worlds!   It just costs more… sounds familiar?  🙂  ARP flywheel bolts were used to secure the improved flywheel, and a new pilot bearing installed.
  • Brand new diaphragm clutch and pressure plate specified and provided by Jack Lawrence as well!  This will go with the motor to the new owner.
  • Brand new, high torque and ultra light starter motor was imported to replace the giant (but weak) OEM one.   Also being thrown in along with the motor, saving you $300 plus overseas freight. af855661-06f3-4085-8ecd-a061ae04b07e
  • Royal Purple oil filter was fitted, and another one is ready to go after initial break-in runs.  Royal Purple “Break In Oil” was sourced, and a batch of their HPS High Performance Synthetic oil is ready to go in after break in.

So, that’s it in a nutshell.  With basic 115 horsepower rebuilds using cheap cast pistons going for $6,650 (no clutch, no starter, no CNC chamber & intake port work, no ARP bolts & studs, no timing cover, etc), it shouldn’t surprise you to hear that I have nearly $9,000 into this motor.  I’ve never seen another one like it.  Just like the chassis, no expense was spared in making the V4 the very best it can be.  Given what I have into this, asking $5,900.00 should be an absolute steal for someone in the vintage Saab V4 community.  Heck, it’s cheaper than a basic rebuild!  Plus you don’t even have to pay freight to ship your old motor to me, and you don’t have to wait for it to get done.  It’s ready to go, sitting in my heated and air conditioned garage.  If you’re interested, send me a note at jcayea99 at gmail and we can work out the details.

And with that, I’m officially out of vintage Saab parts to sell!  Best regards to Andrew, who purchased my Sonett chassis, and to Ramses who bought my gearbox.  I’d love to see some finished results down the road!  But as of this writing (1/20/19), all that is left available is the fuel injection setup and the long block engine (UPDATE 3/31/19:  The fuel injection setup is now sold!).

I’m going to leave the blog up indefinitely in hopes that it helps someone else out down the road, and maybe I’ll make a blog post here or there for the heck of it.  Especially if I get some updates on my past project Sonett.  But, as for me going forward, I’m taking Saab’s advice and Finding My Own Road…

Product Spotlight #2: Custom V4 Fuel Injection System

So with the gearbox and chassis spoken for, the next item available from the once-in-a-lifetime What On Earth Is A Sonett collection is a custom engineered V4 fuel injection setup (UPDATE 3/31/19:  This fuel injection setup is now sold!).  And in typical overkill fashion, this is no lame-o batch fired or throttle body injection setup, but rather a full on modern fuel system that would be in service by a late model Saab itself!  This system will have the capability of drive-by-wire and/or sequential fuel injection with coil-per-cylinder ignition.

643DEF4B-E323-464A-88AE-162A42C15D77

Here is the list of what will come with this package:

  • Custom built marine-grade aluminum fuel tank.  Based on Sonett tank dimensions, but downsized a bit to allow much better working clearances and reduce fuel slosh up high.  Tank was pressurized and leak proofed by Roger’s Radiator in Medway (they specialize in custom tanks & radiators for classic vehicles).  They also applied a tough corrosion proof coating to the exterior.  Provisions for a fuel sending unit, fill port, fill vent port, tank vent, and a pair of -6AN ports allow for fuel injection supply and return.  With the downsize dimensions of this tank, it may also fit a 95 or 96 as well. EE9F6625-AB4A-4F21-ABD7-E0B43FE44F08
  • High performance two barrel intake manifold, custom milled with fuel injector bungs machined in.  The two barrel has a superior plenum opening vs the normal one barrel, so the one barrel was rejected early in the system design phase.  Custom CNC plate was designed and cut to allow you to mate up typical aluminum tube (included) to the standard two-barrel mounting flange. 7803319F-2209-4215-BC88-A6E390976084
  • Four brand new, never used, AC Delco LSA/LS3 style fuel injectors.  These are the same injectors that come on the 560 HP Cadillac CTS-V, and are sized to handle well over 200 HP on the V4.
  • Custom fuel rail prototypes and extra fuel rail stock
  • 2.0L throttle body with custom CNC plate to allow you to mate the throttle body to the tube that feeds the intake manifold. BA771C98-E324-4031-94C2-C55943CDF0E8
  • Surge tank to allow fuel pump mounting, a new Bosch 044 equivalent pump, pre-pump fuel filter, mounting bracket, post pump fuel filter, and check valves.  All brand new, never used.
  • Full roll of Russell fuel line with an assortment of Russell adapter fittings and Fragola shutoff valves.
  • A pair of V4 valvecovers beautifully restored and powdercoated.  Stand-offs were precisely added and welded in place to allow individual coils.  A brand new set of AC Delco D585 LS2-style coils fit the mounts exactly and will be able to accurately fire up a V4 of virtually any power level.
  • A prototype distributor replacement stub.  This allows you to eliminate the distributor and still be able to drive your oil pump as the factory intended.  Custom designed and fabricated by a high-tolerance machine shop that provides parts for a nuclear submarine supplier.  Tolerances of this shaft are within 0.0001″ (not a typo). 7B88F541-4086-4869-A0ED-62D6AFDE78F8
  • Brand new timing trigger wheel sized up to perfectly mount to your balance shaft pulley!  Includes a universal wheel sensor and mounting bracket as well.

So, simply add the engine control & wiring of your choice and away you go.  Very cool stuff!  Equipment alone (no design/engineering time) was $2300.00, and if you had to duplicate this you would easily be in the $3000.00 to $3500.00 range.  I think $750.00 is beyond fair but am open to a thoughtful discussion on it with my blog readers (jcayea99 at gmail).  Like the gearbox and chassis before it, I’m assuming that you girls & guys will snap this up too.  🙂

Product spotlight #1: Restored 1972 Sonett Chassis


So, my beefcake gearbox is already sold as of Thanksgiving 2018…!   It went out to a great guy in the Midwest with a ’68 Sonett.  [UPDATE 12/29/18:  And it looks like the chassis is already sold now too.  It’s going to a great home in CT.  I’ll get you guys an update soon regarding the couple of other items I still have available.]. And you guys have been quick about checking in for more info about everything else.   While virtually everything I’ve done is documented throughout my blog, I figured it would be way more convenient if I just did a summary post for each remaining piece that is available.  Also, I thought you would guys would dig the “vintage” image in front of my neighbors barn:

20181022_130356-effects 
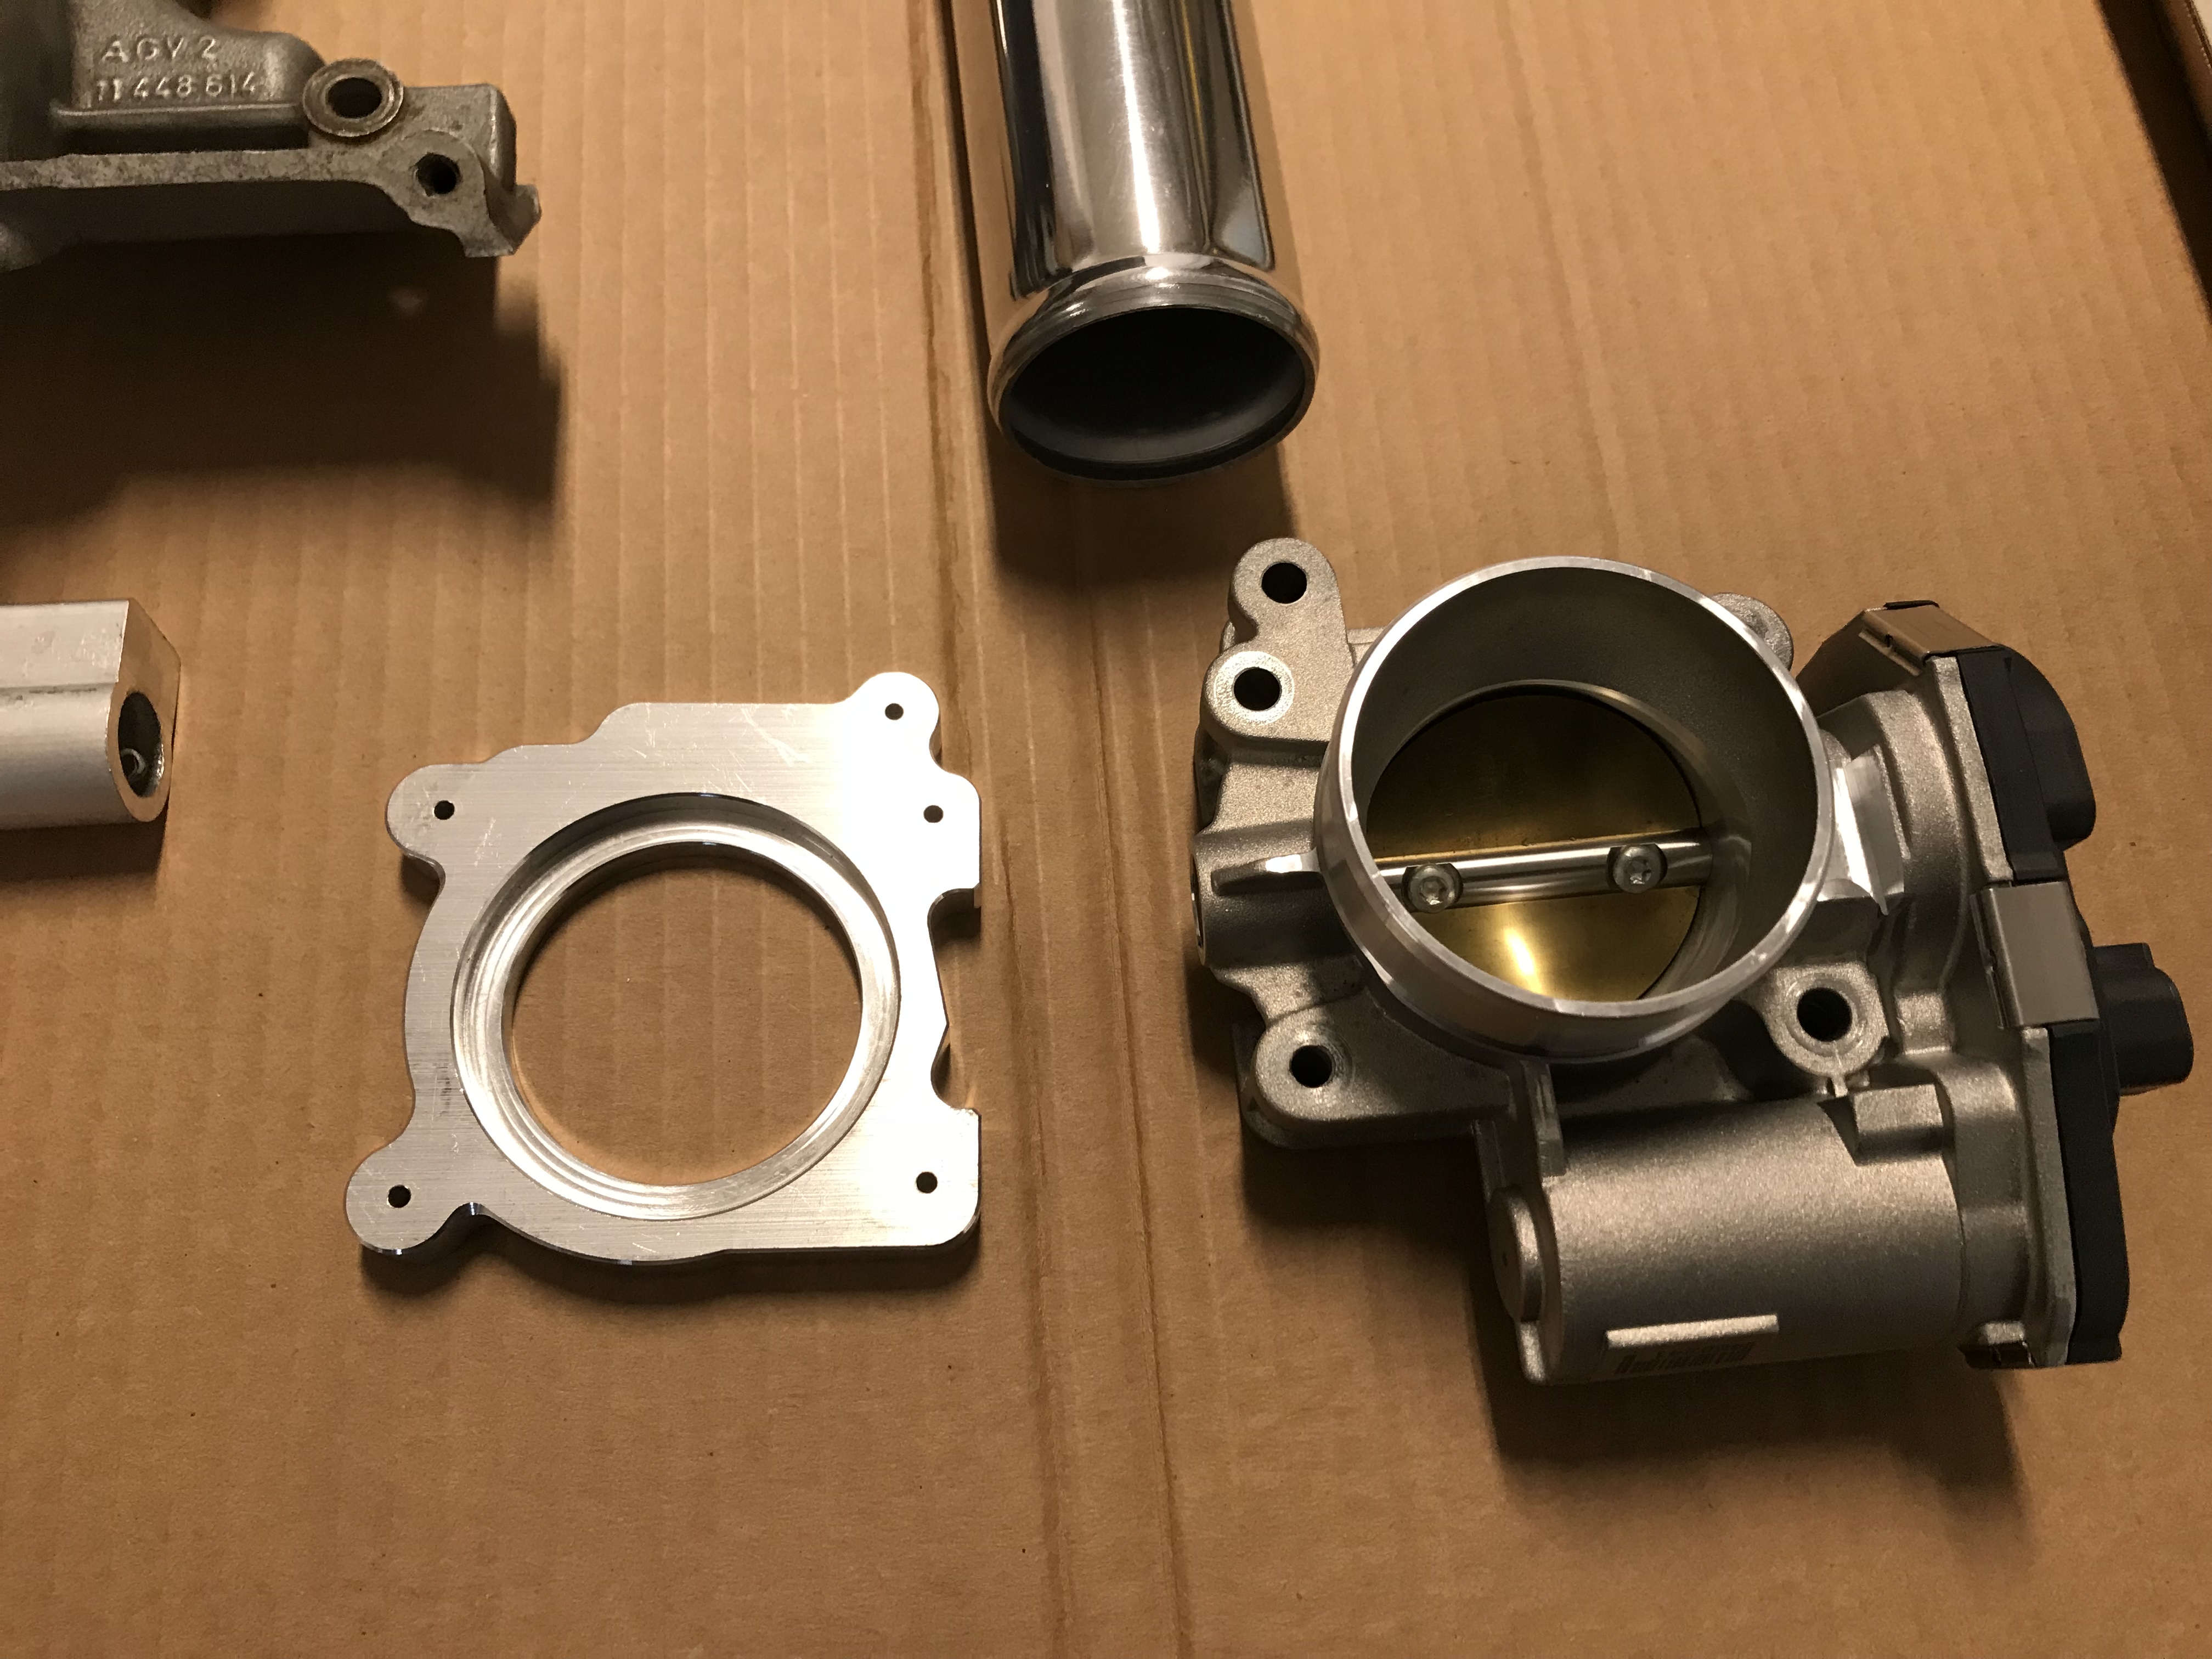
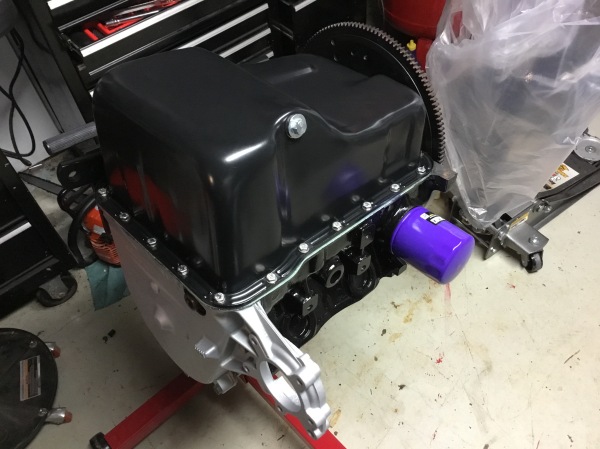
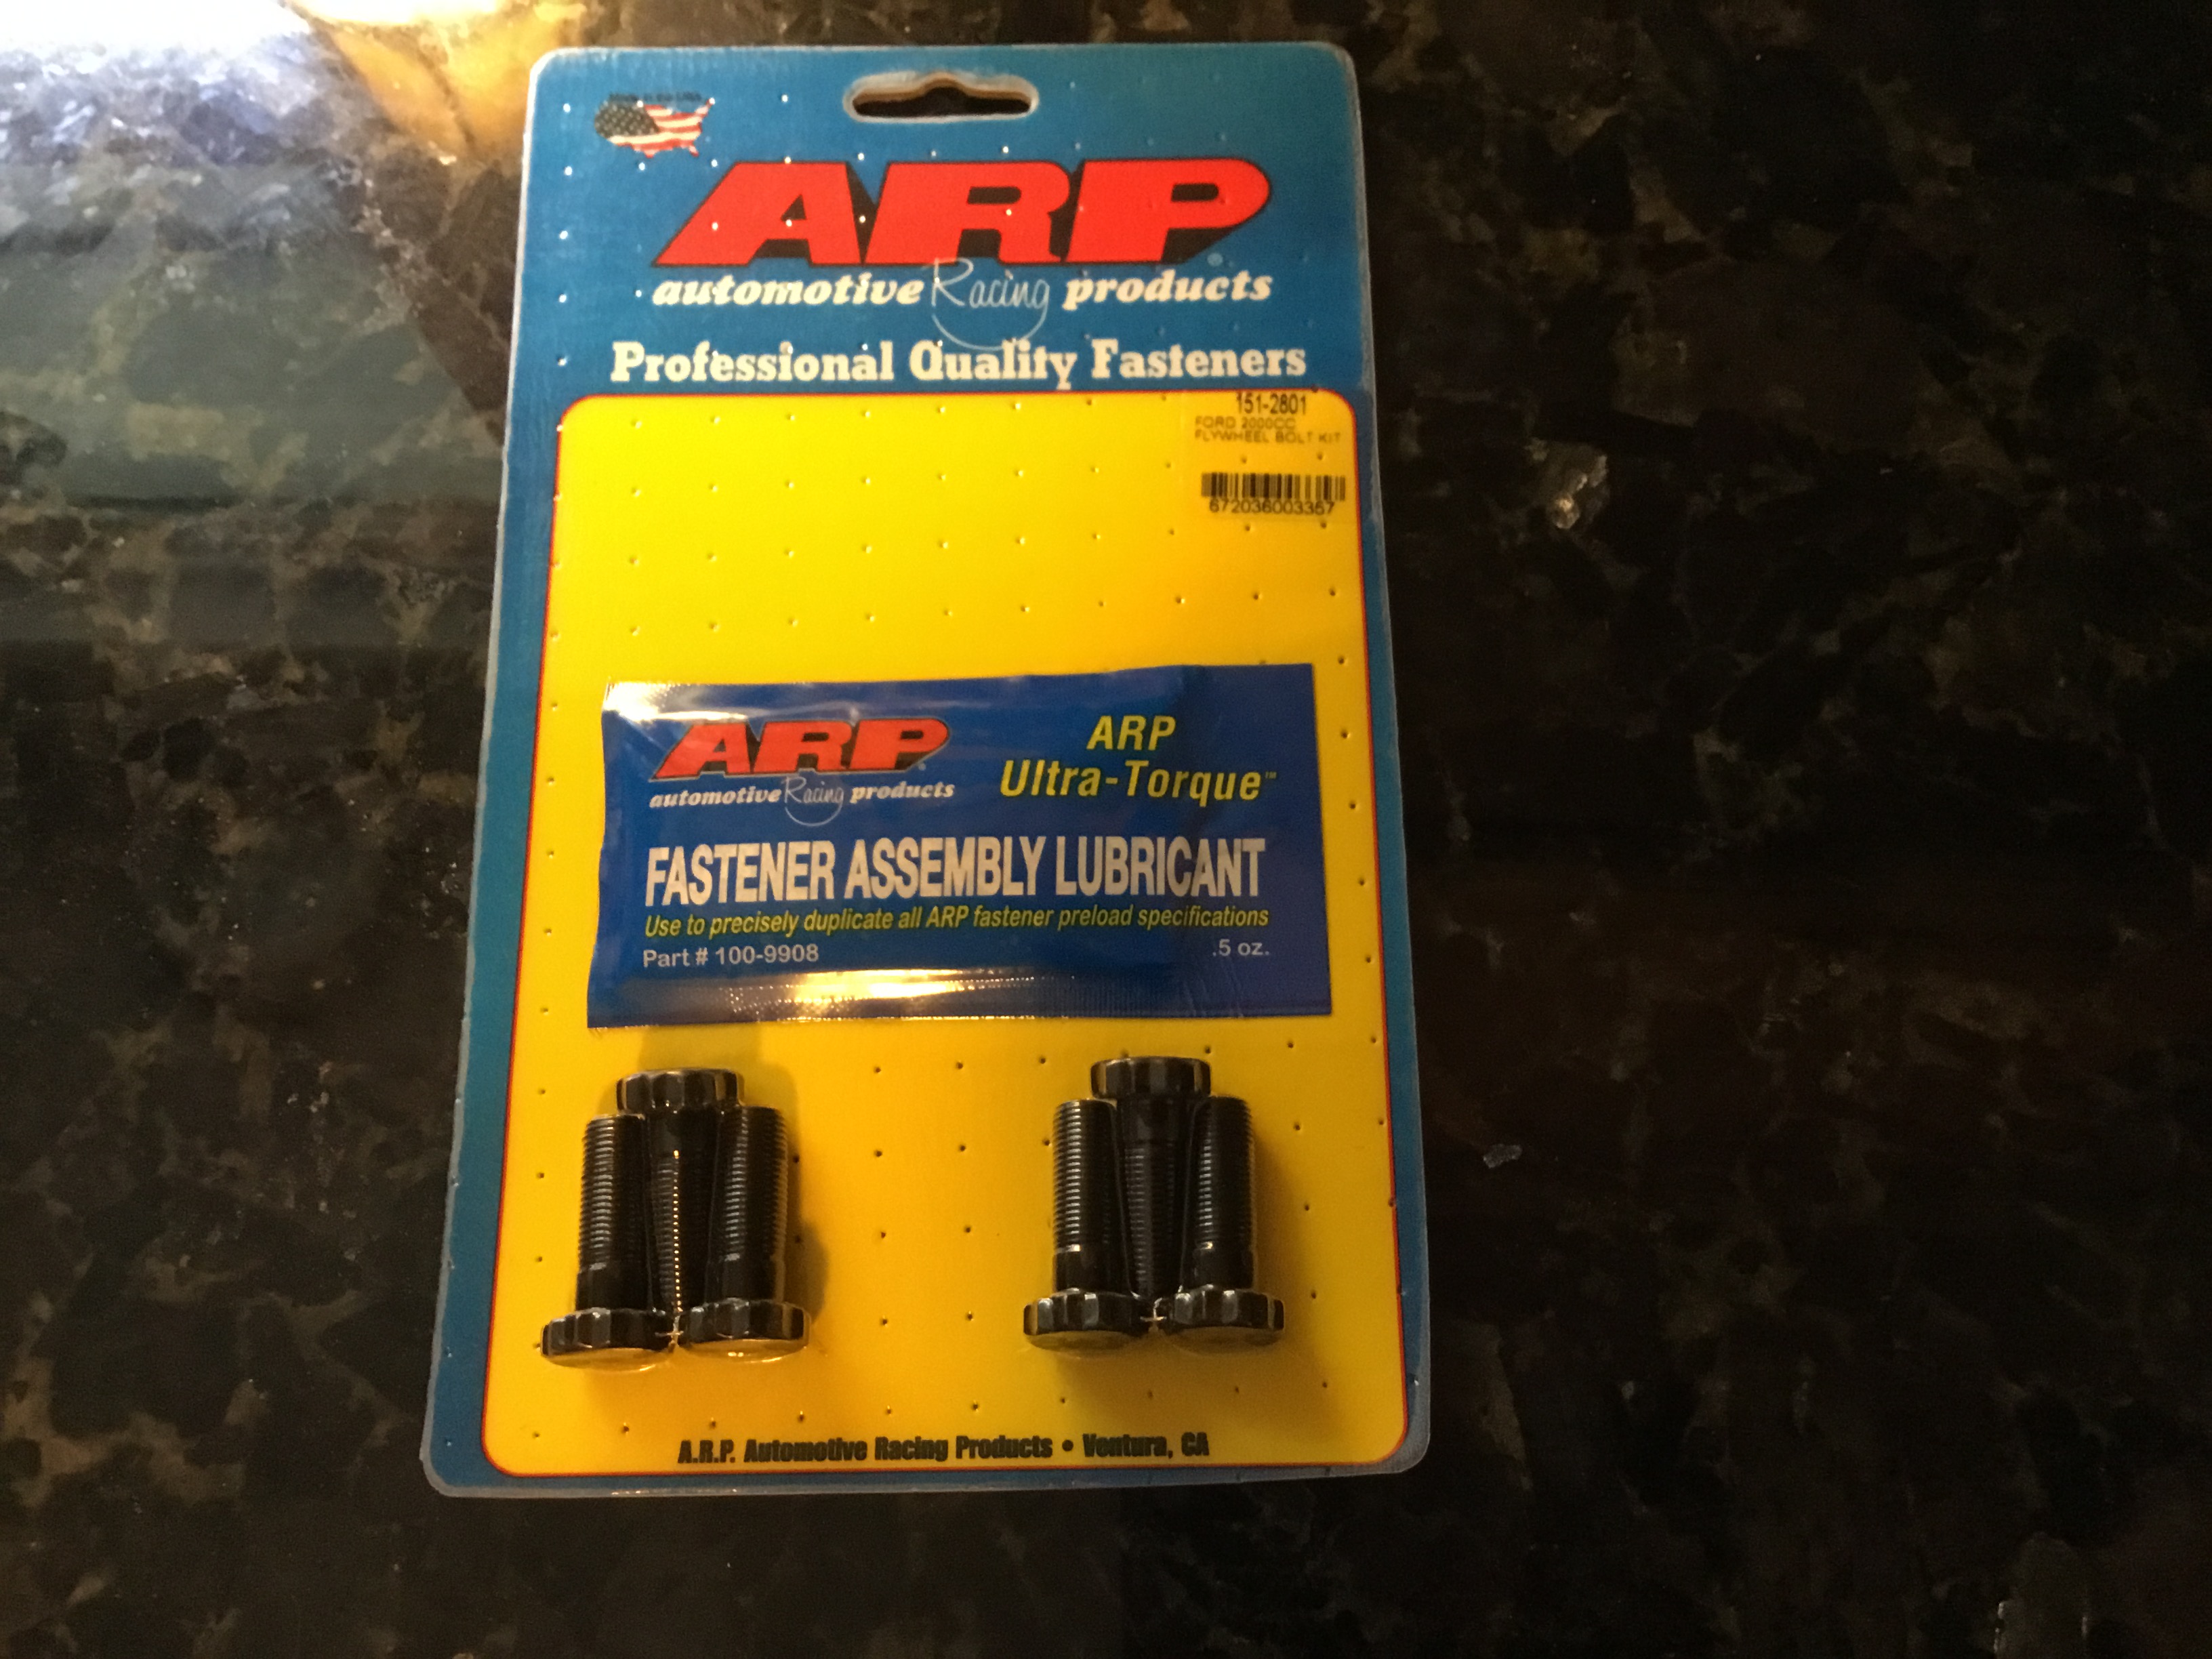
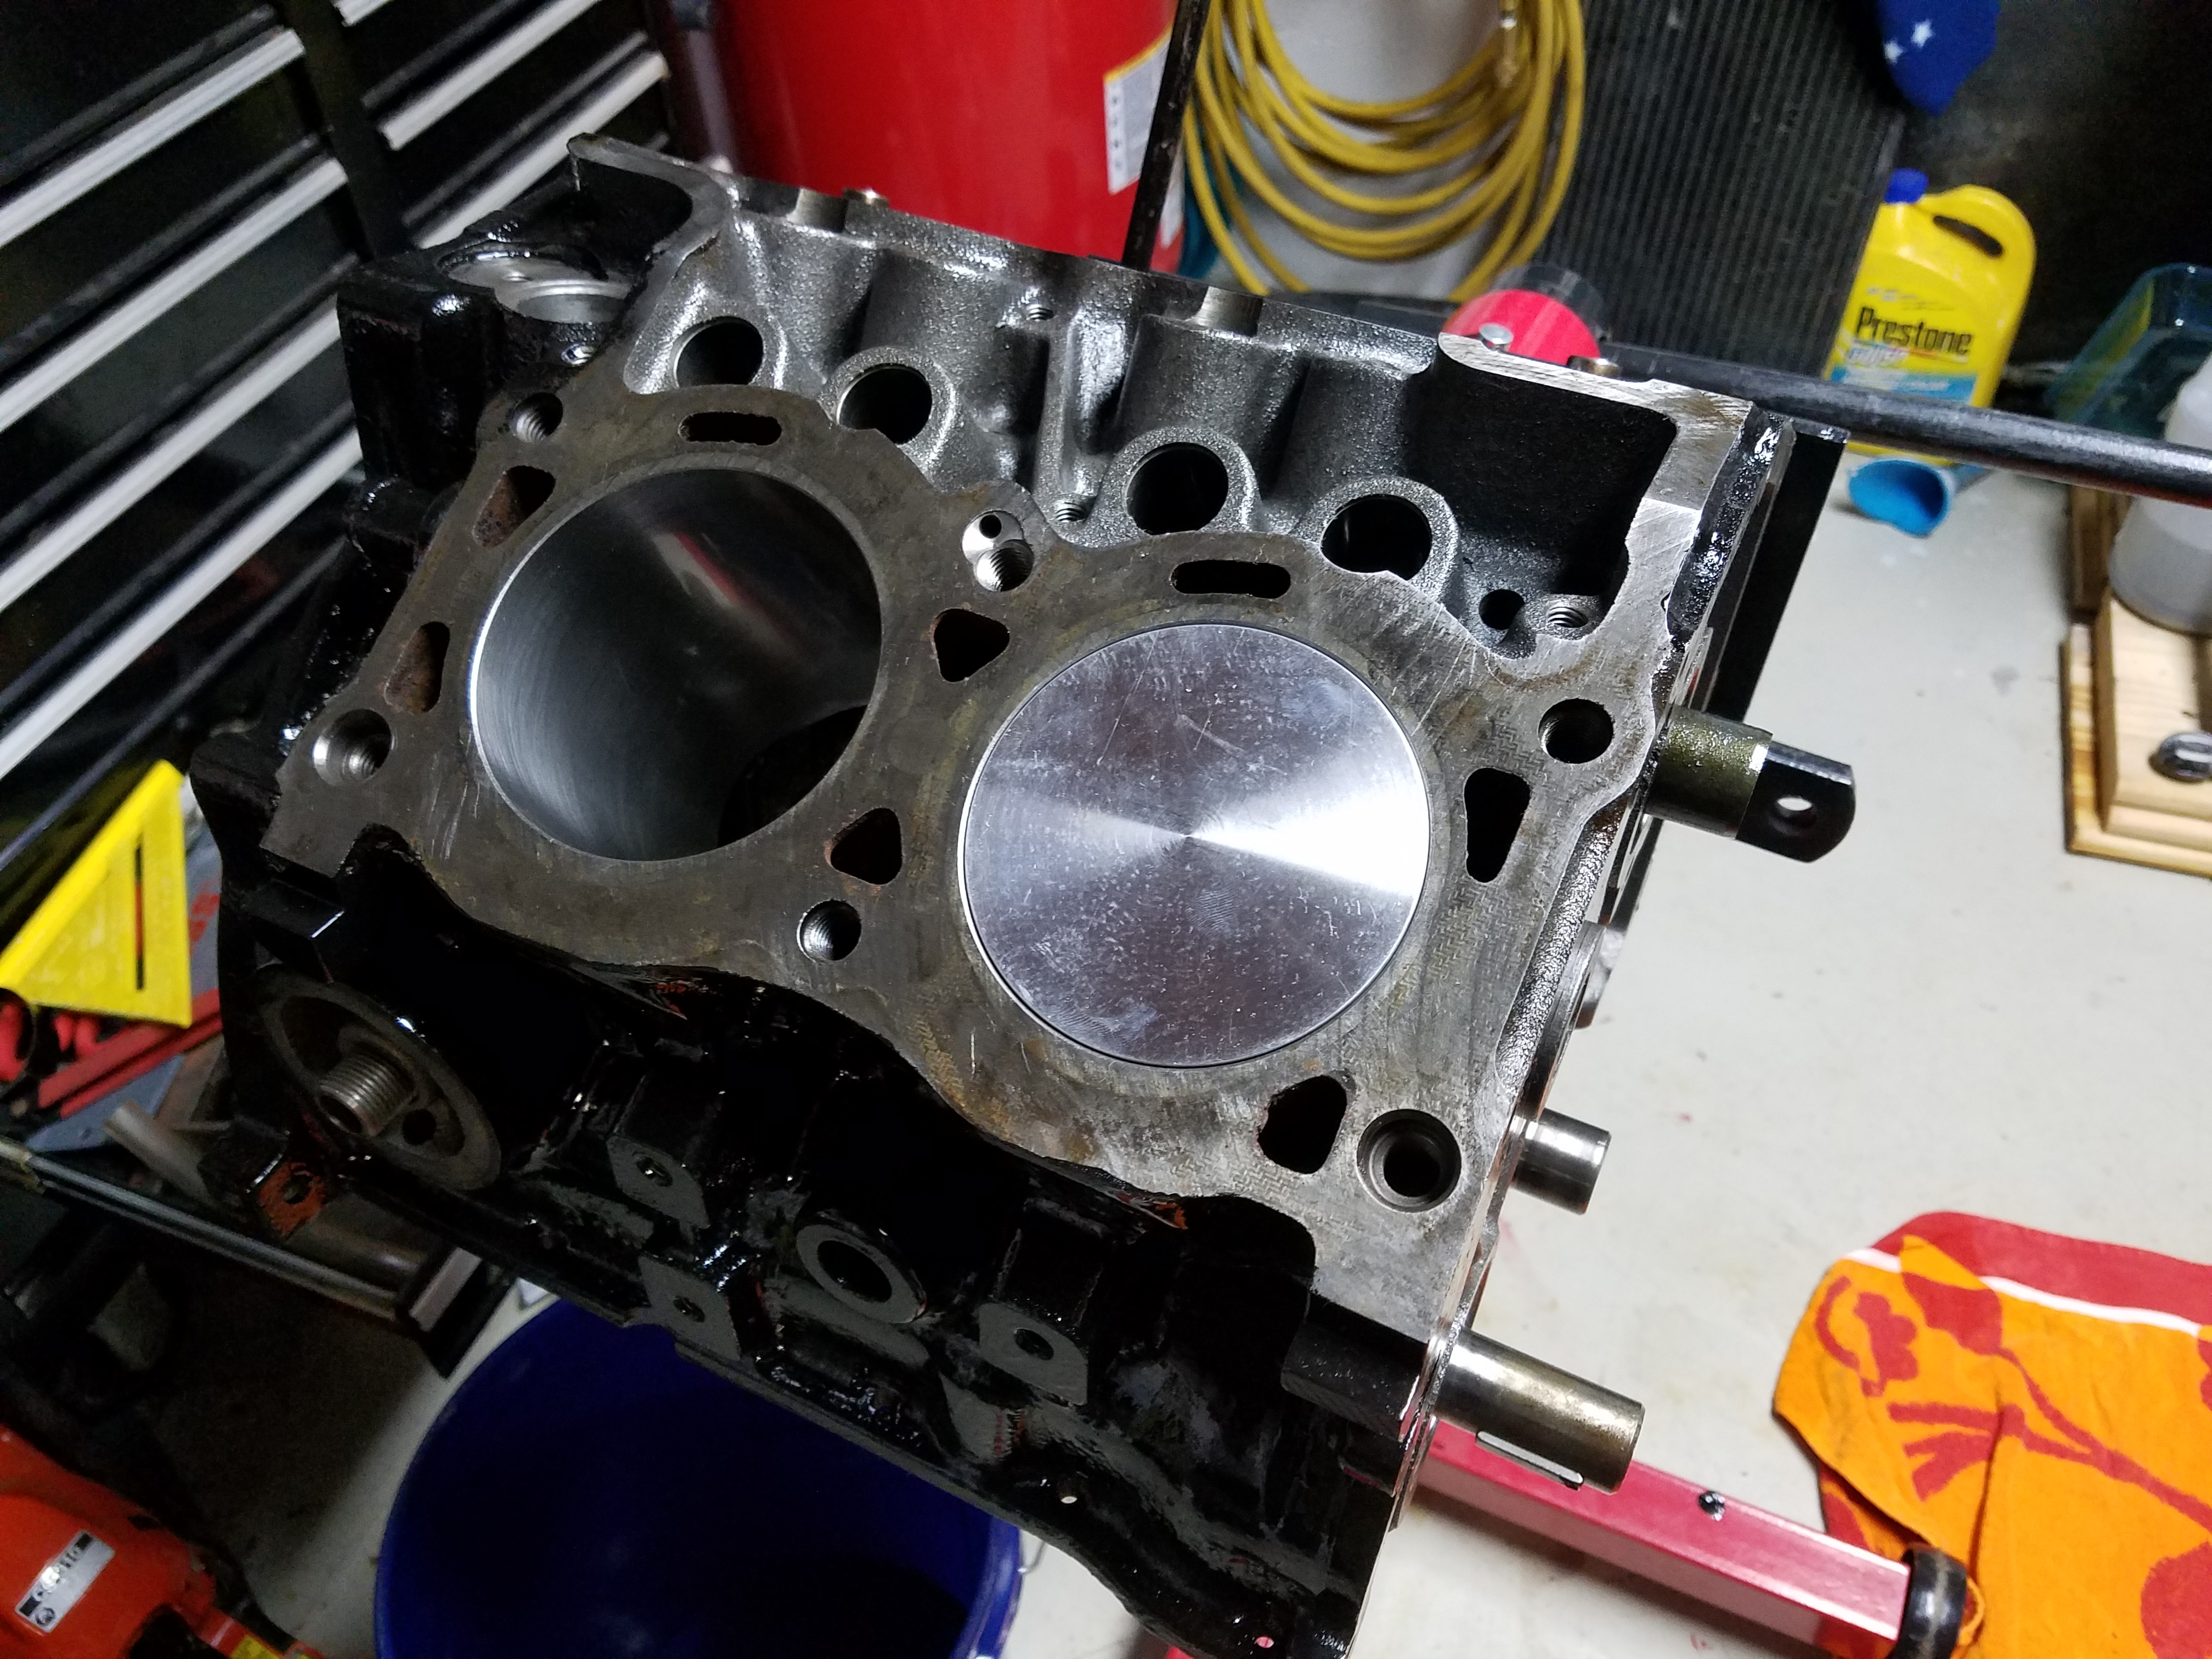
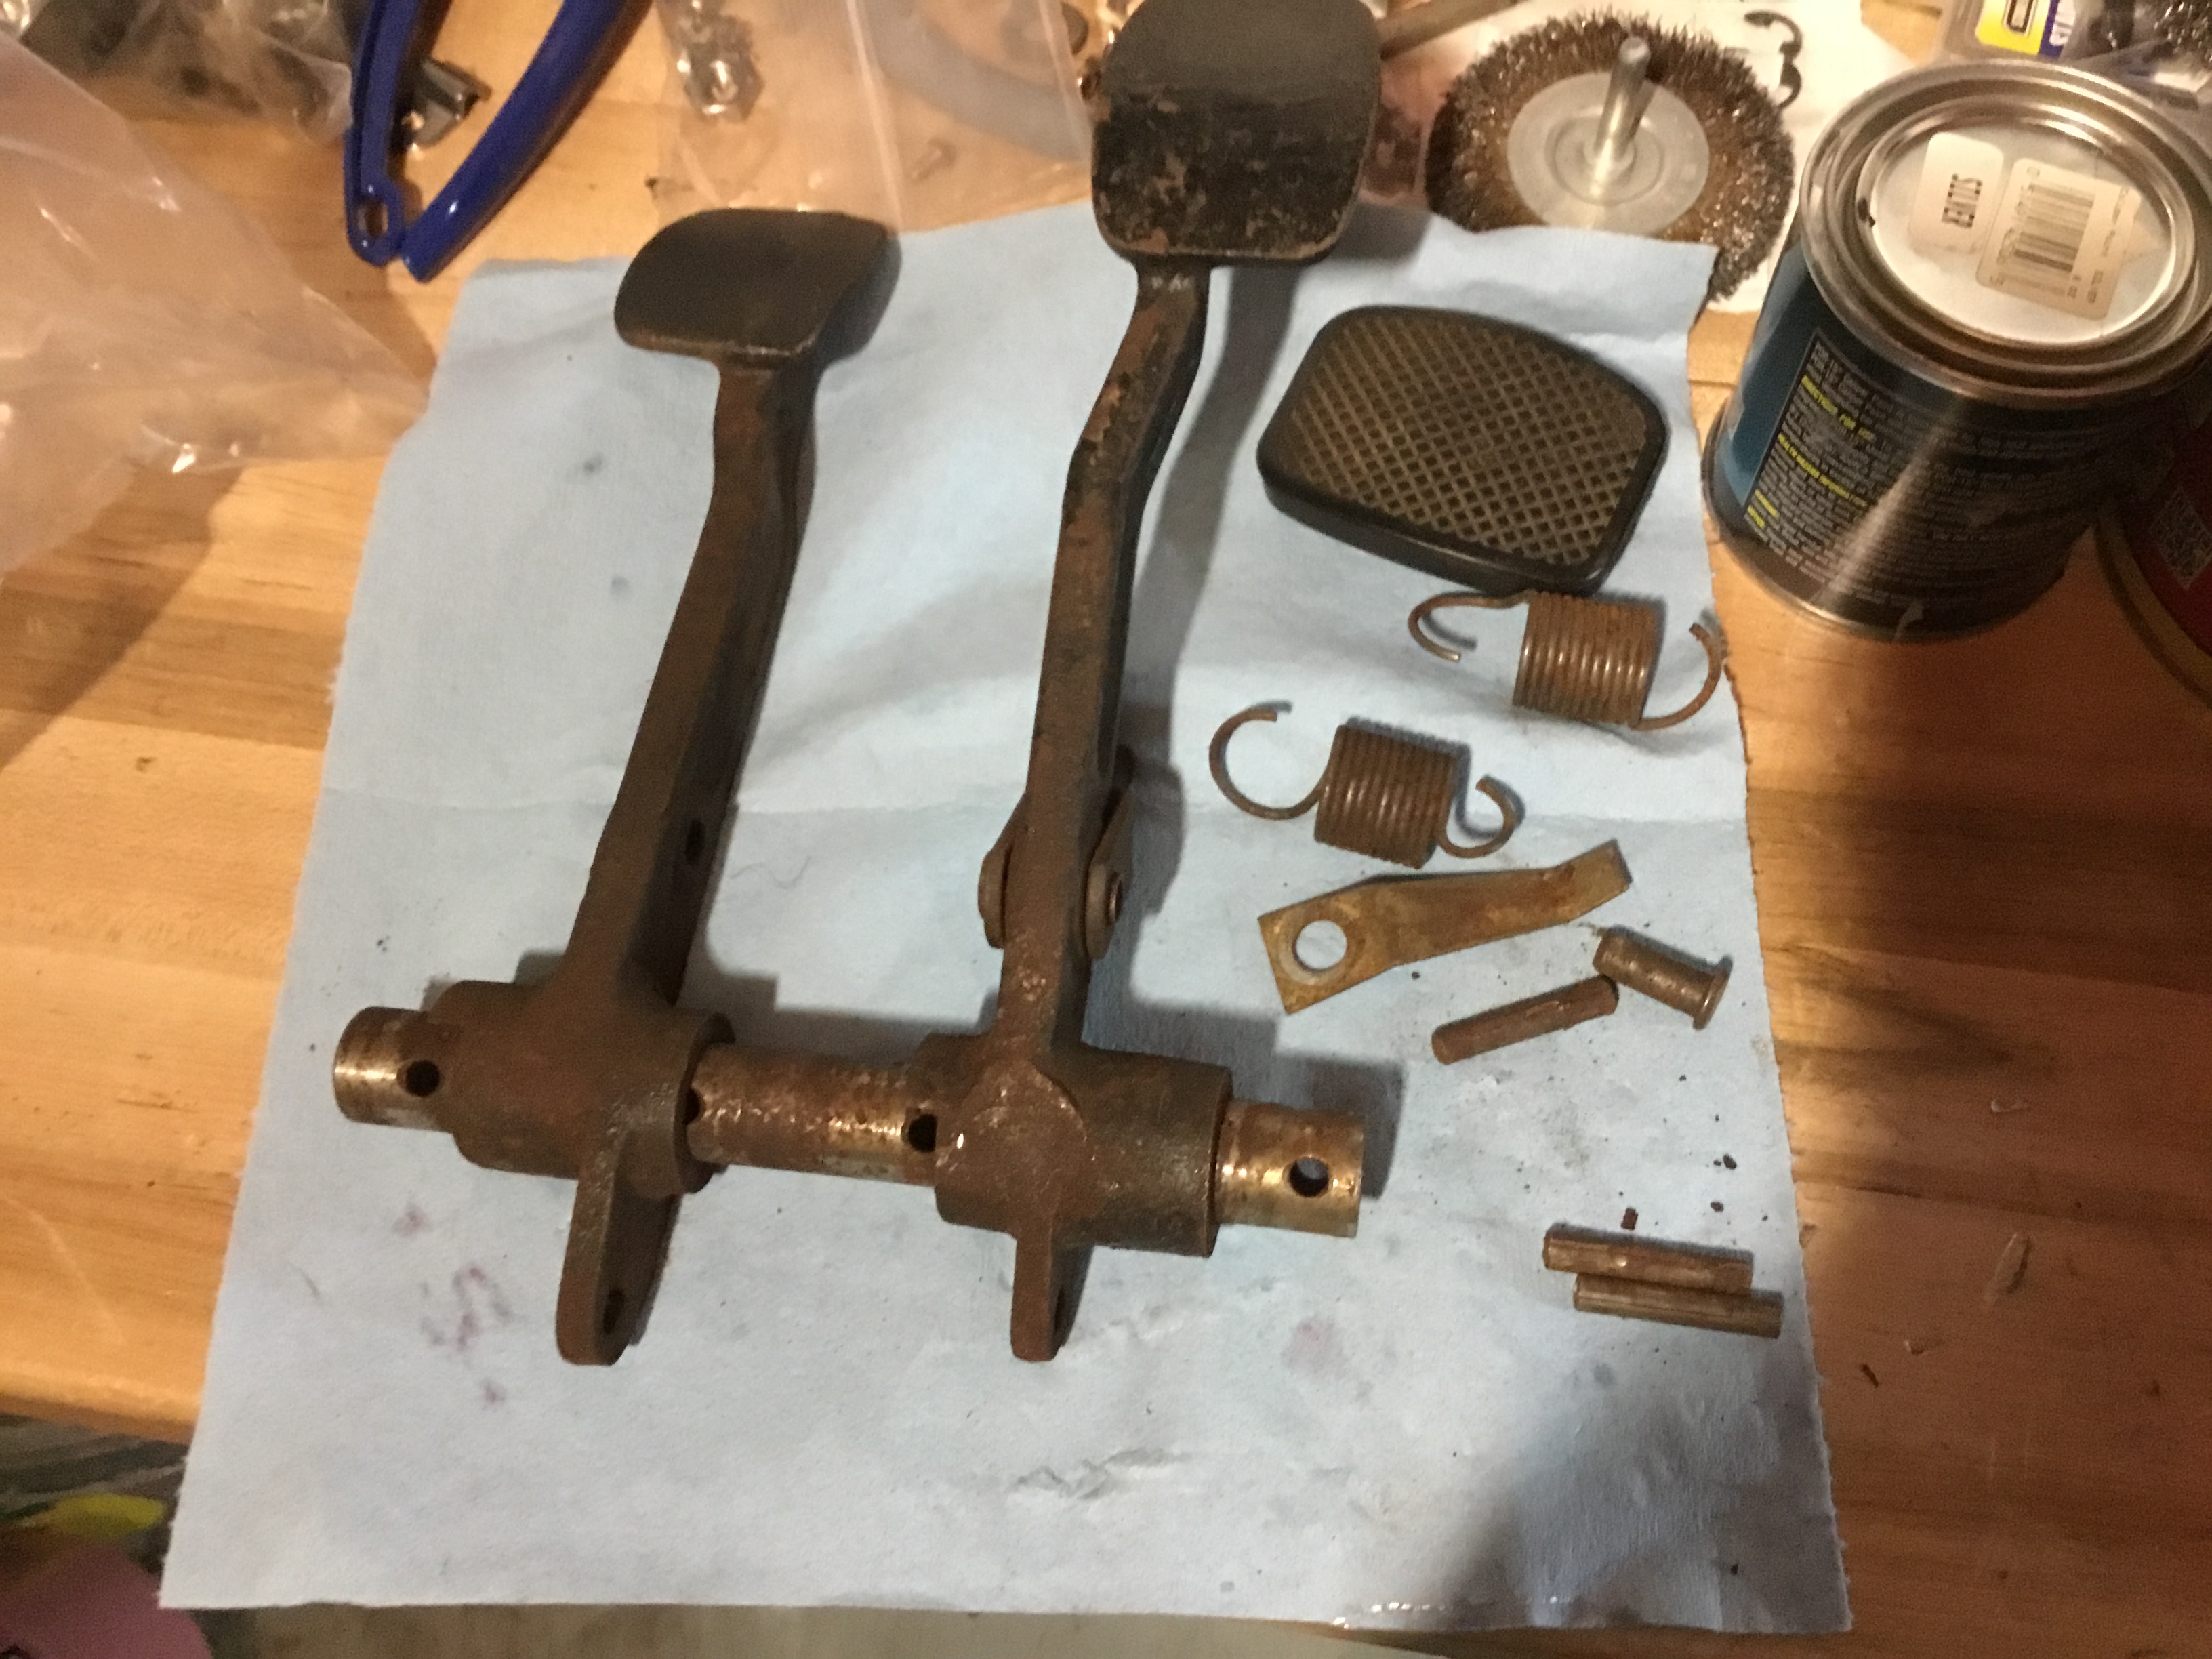
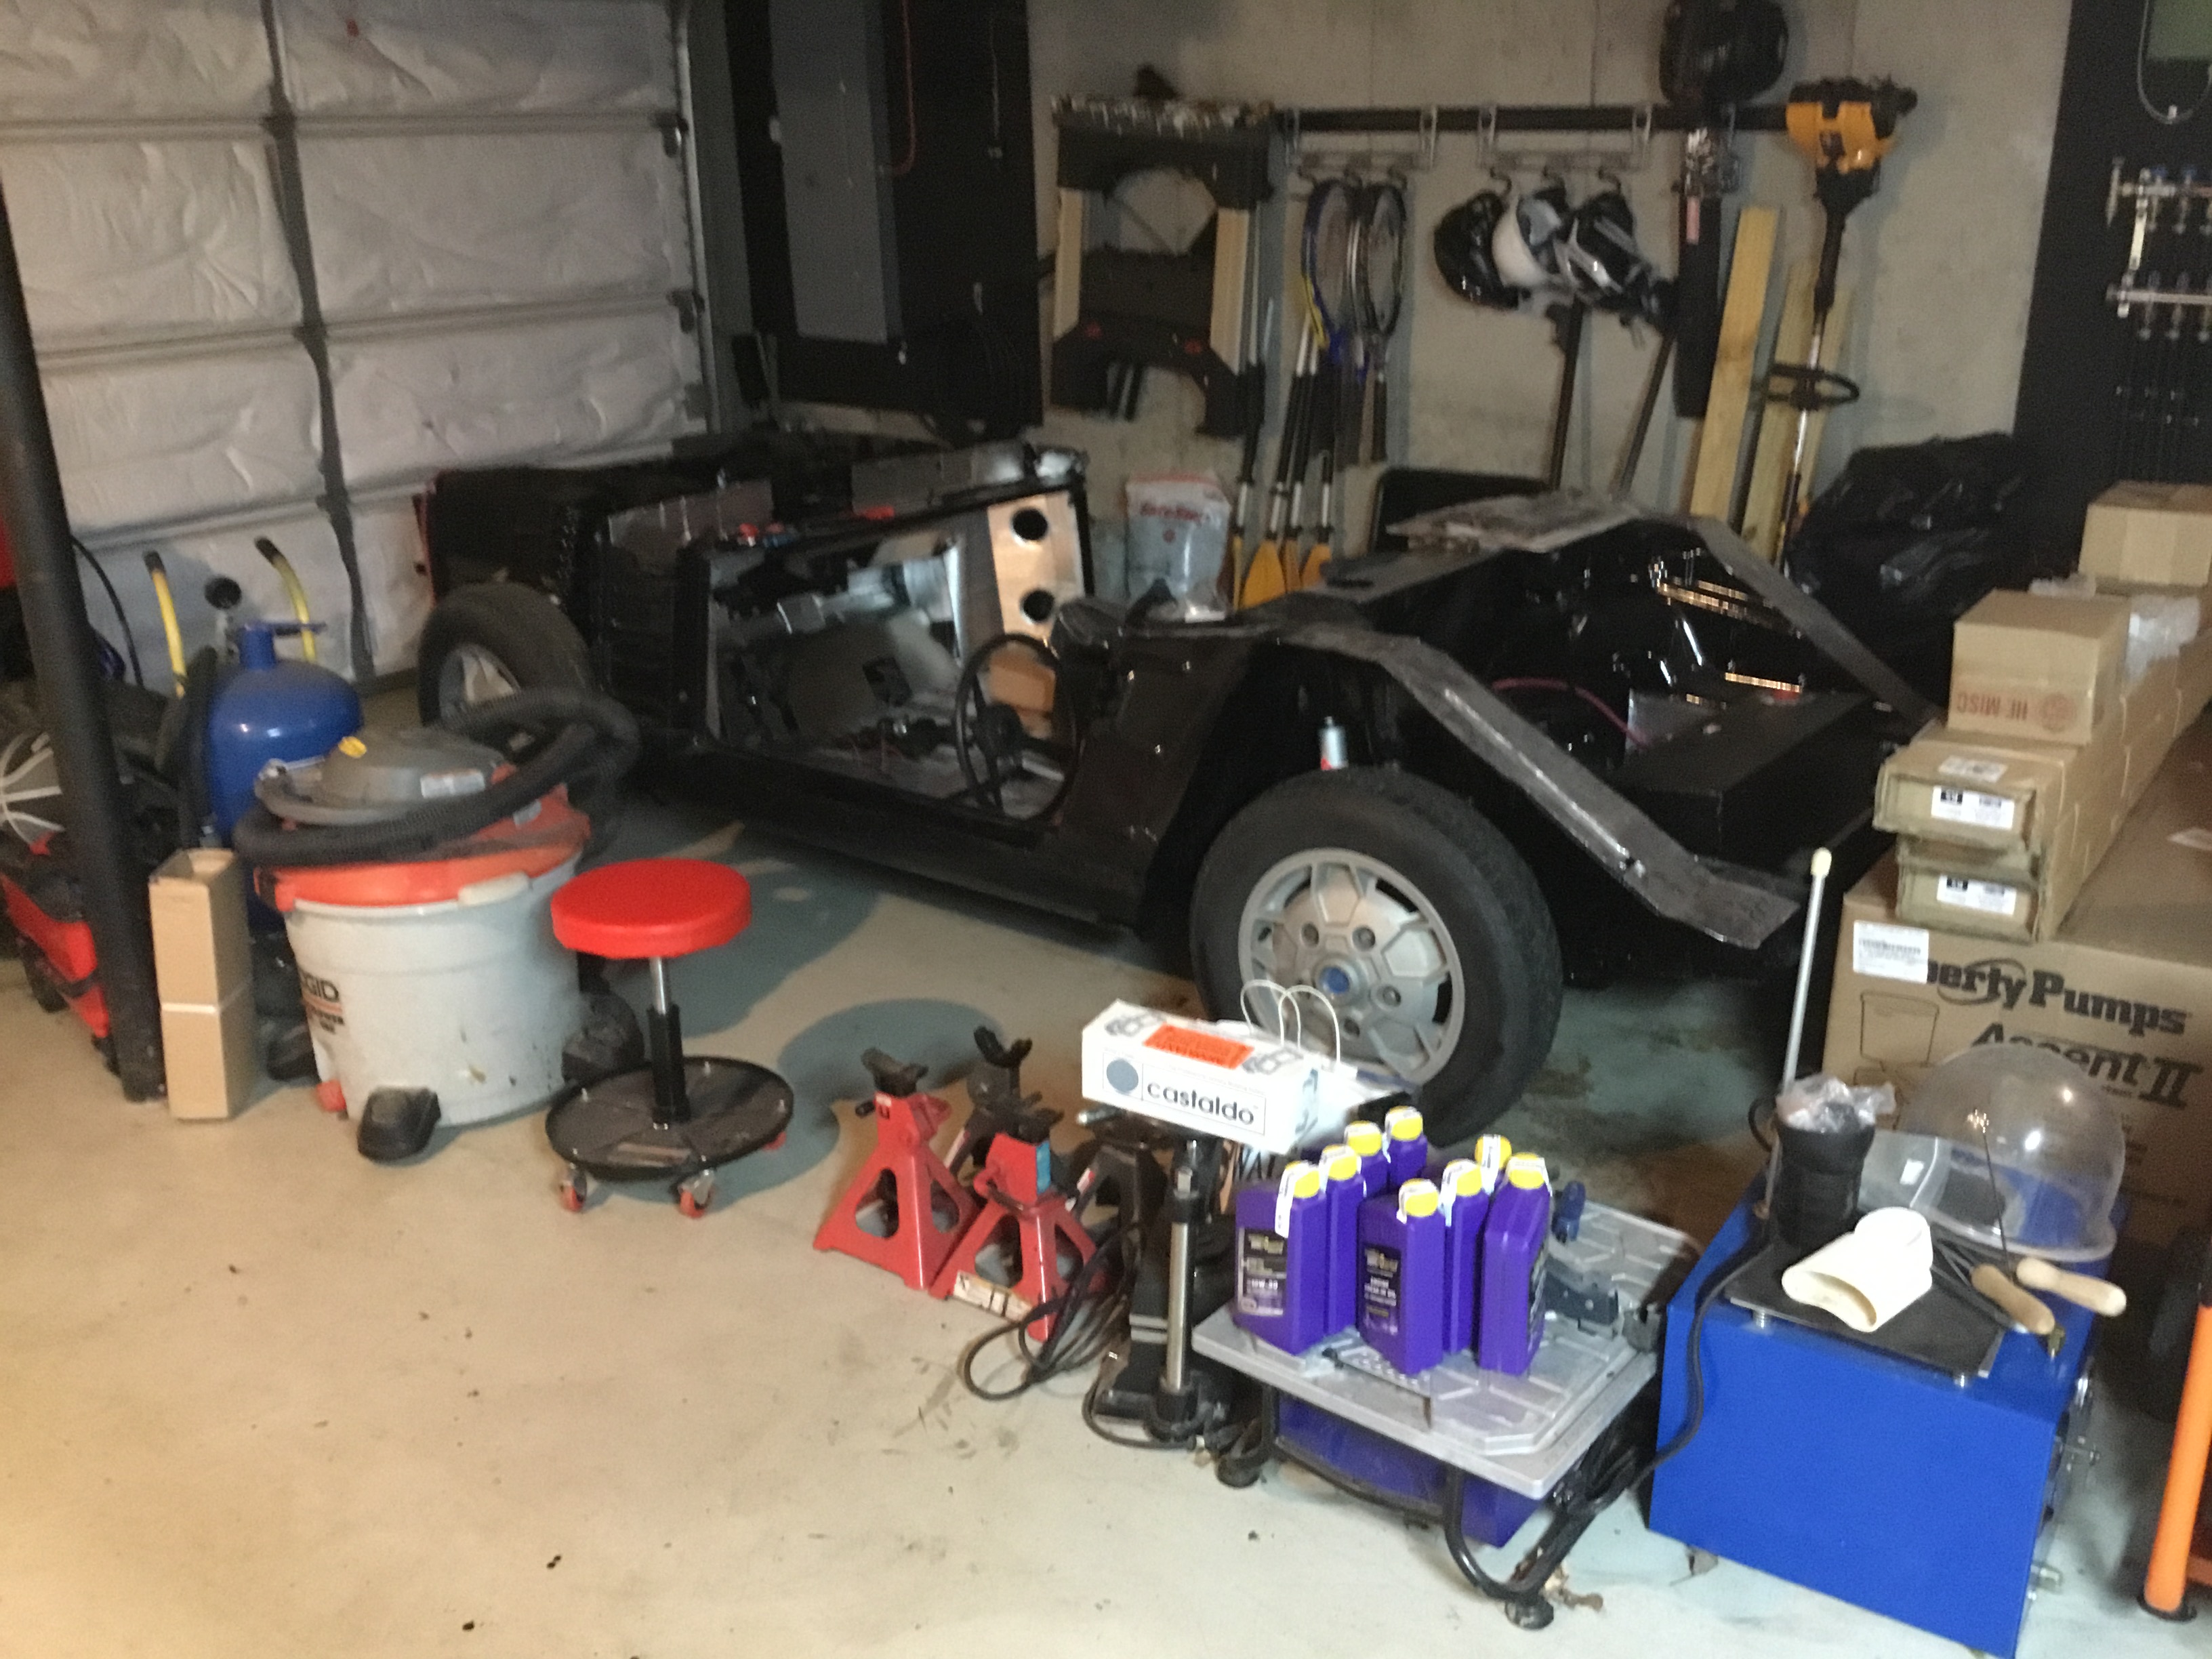
So, here are the details:
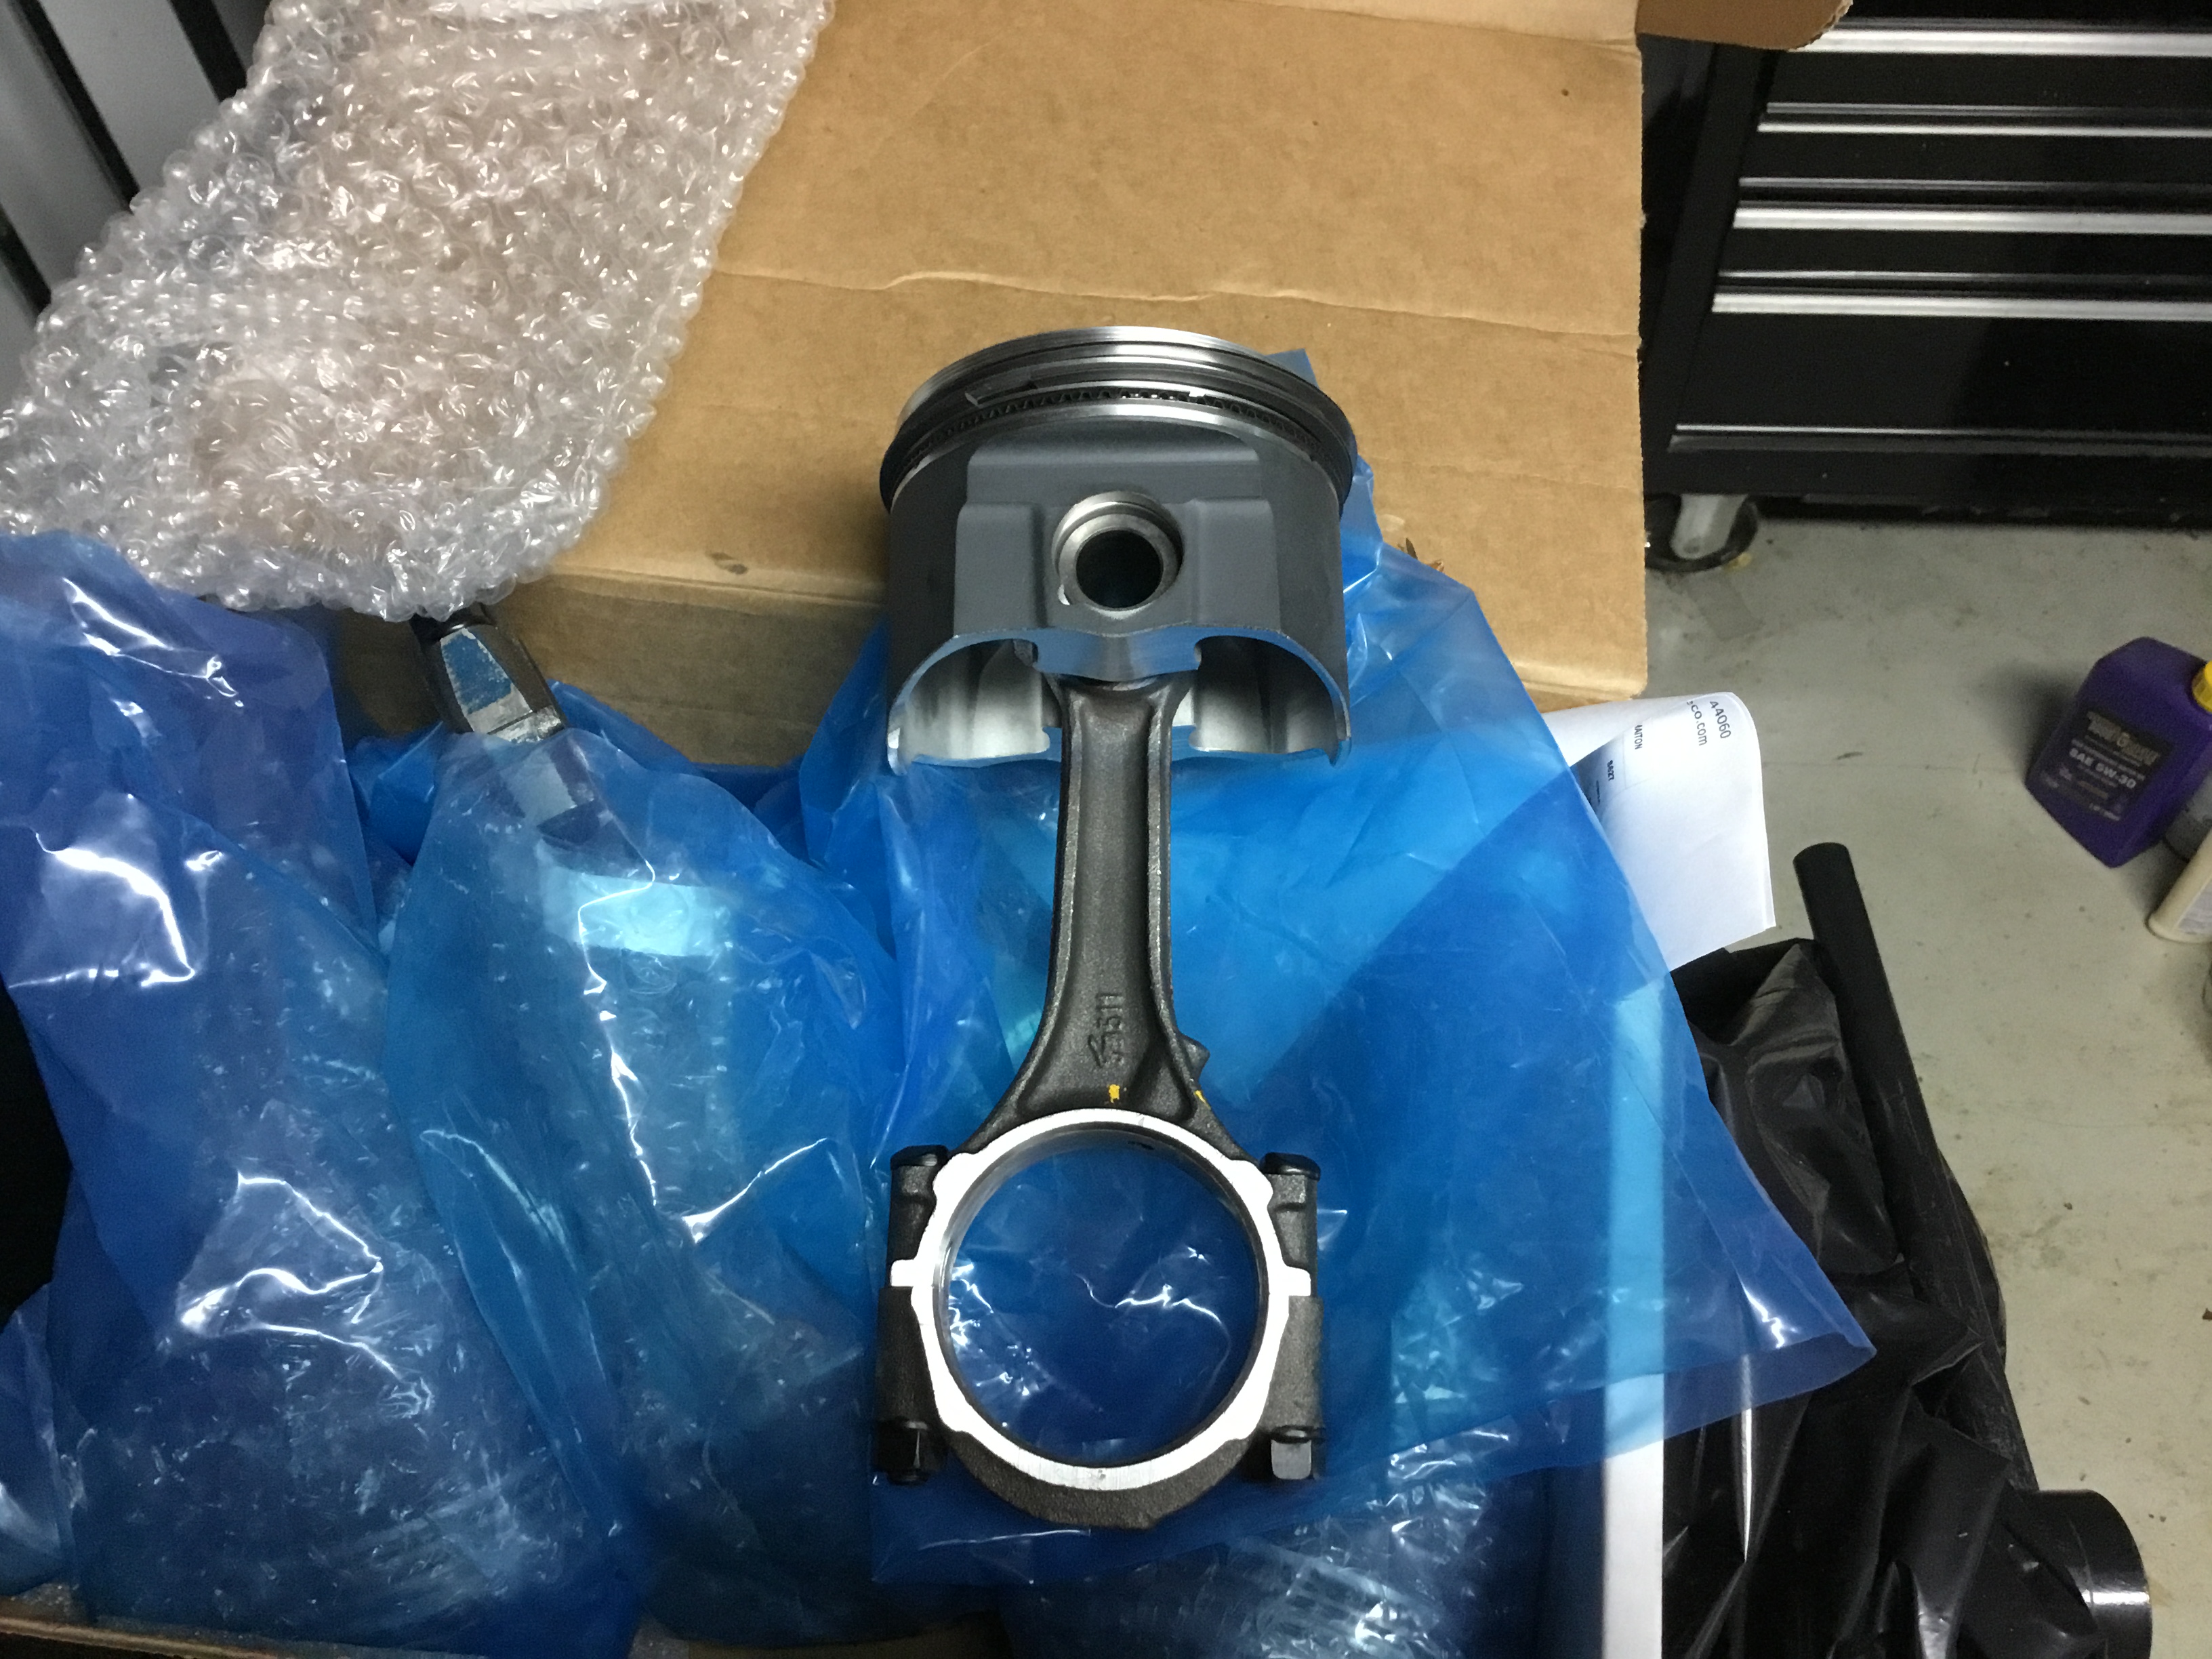
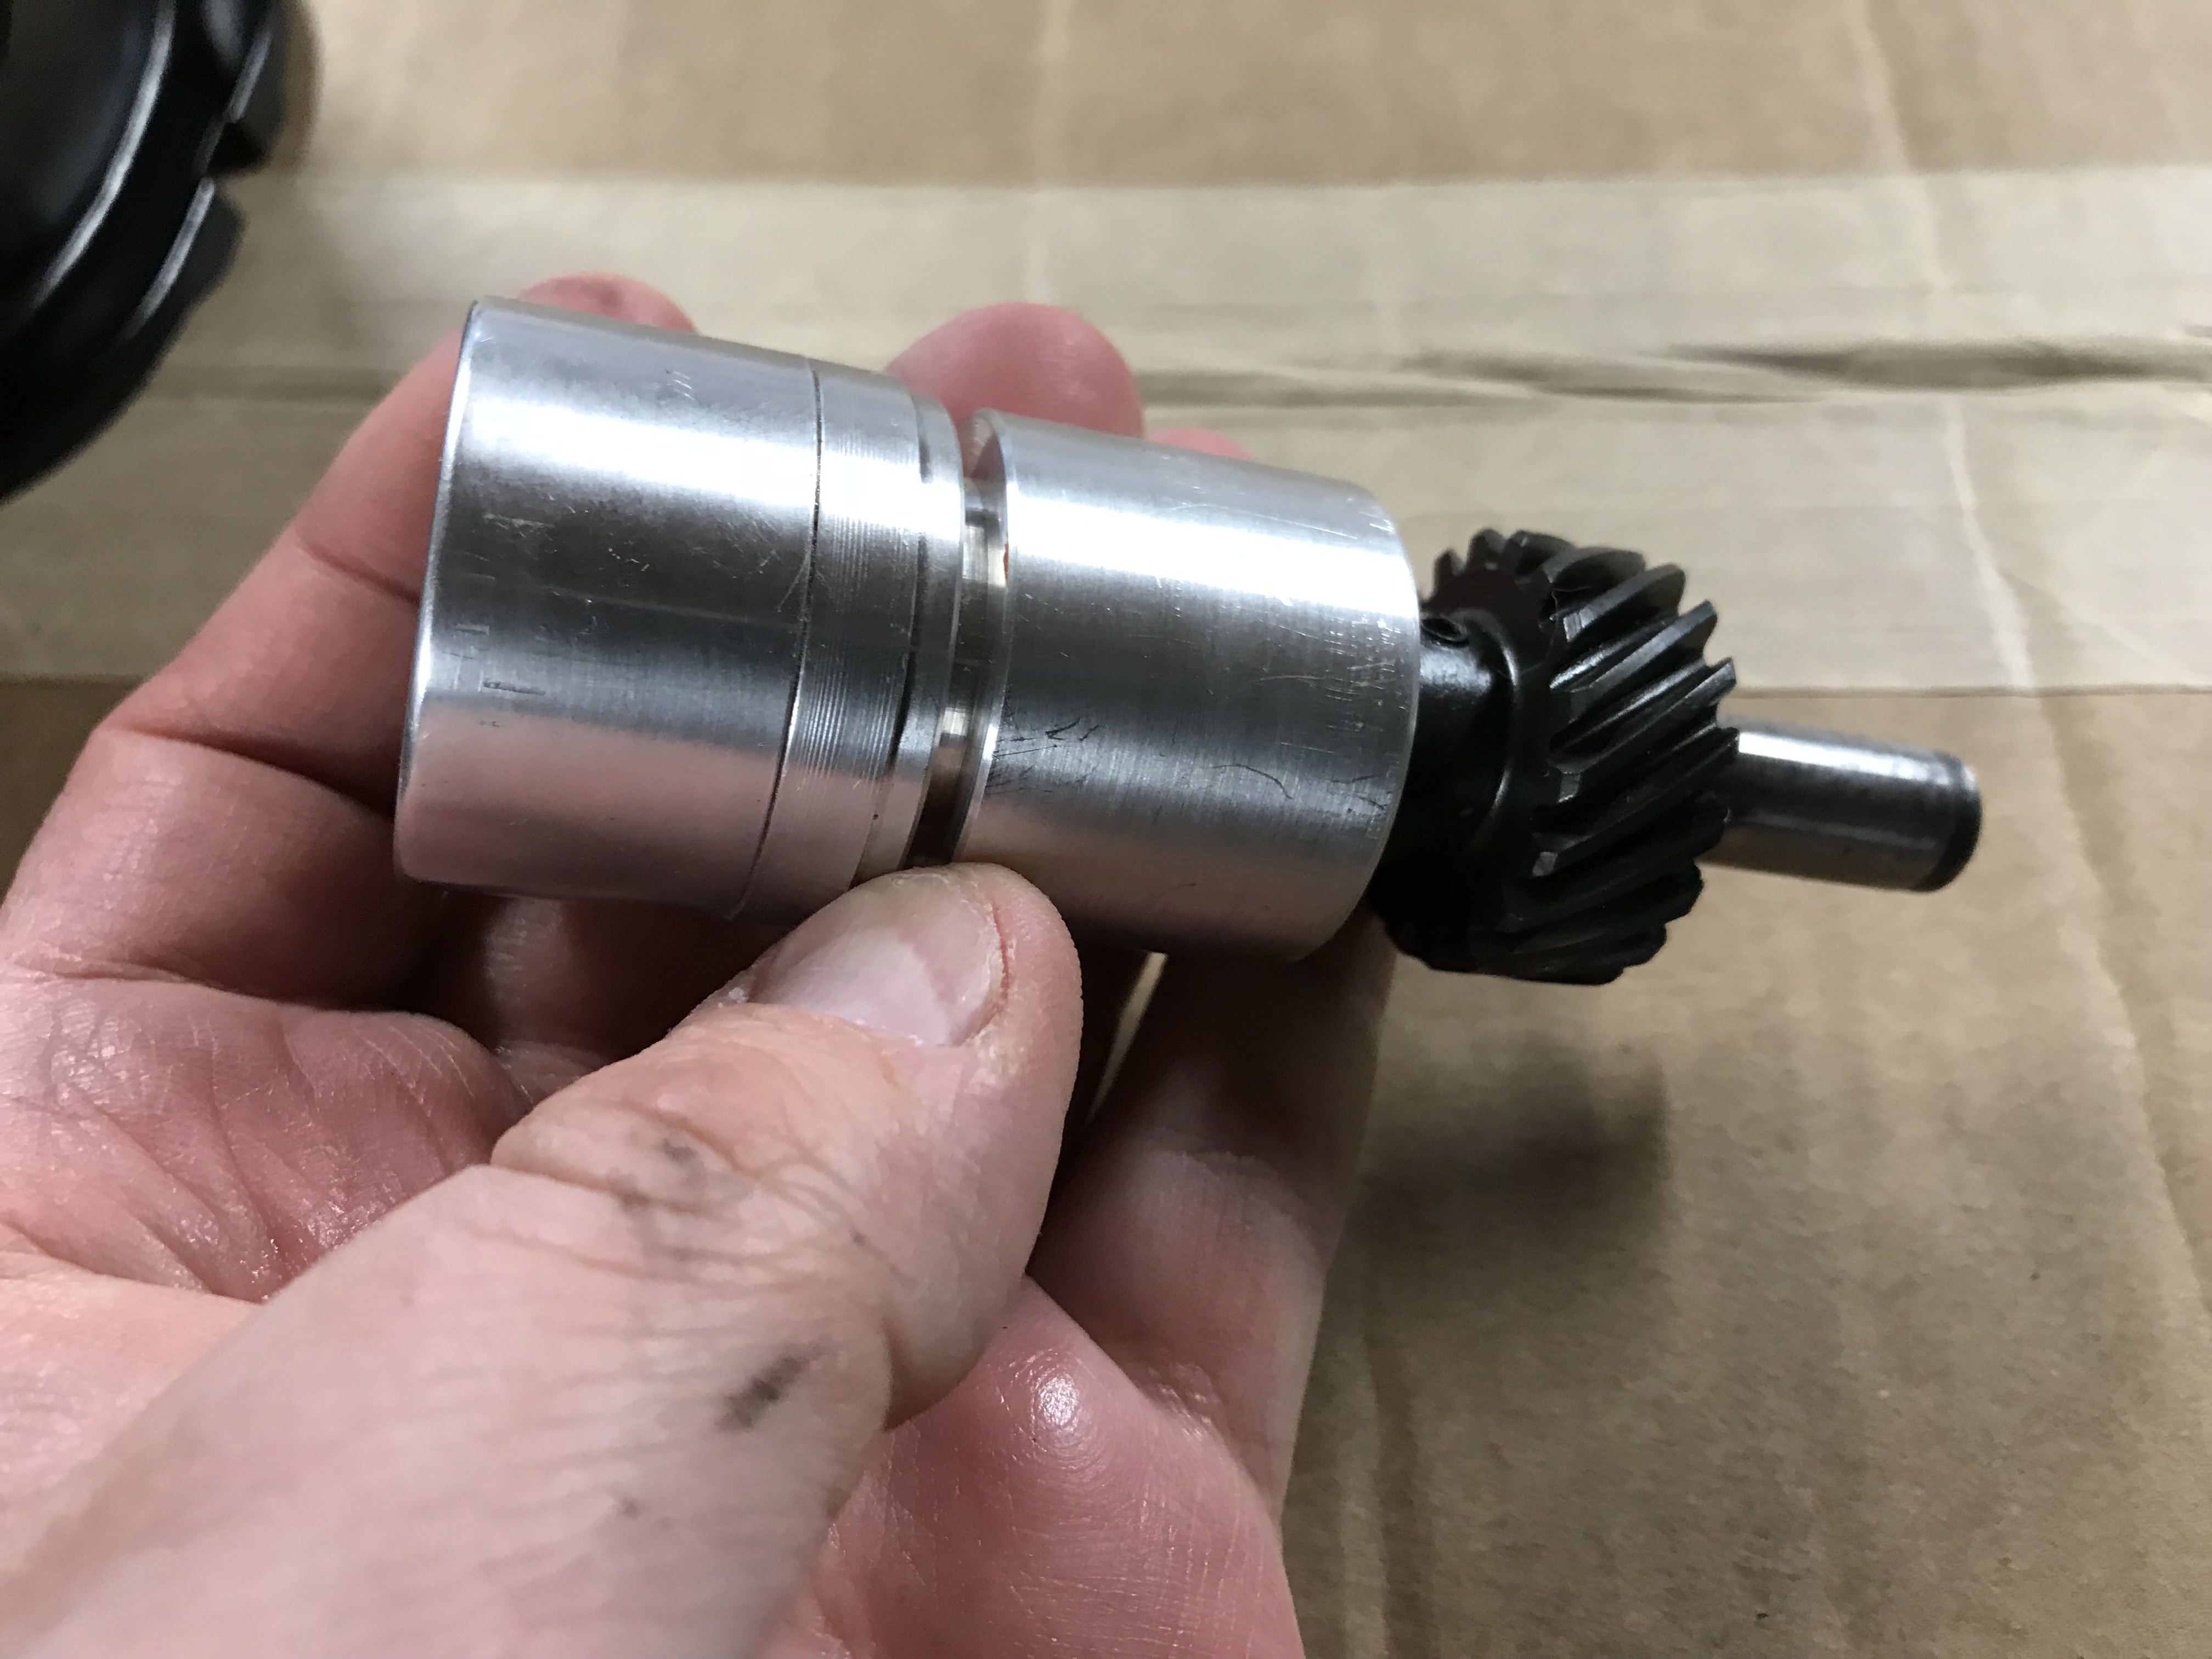
  • 1972 Sonett III chassis, with just over 30,000 miles on it that spent it’s life in the South/Midwest US (Arkansas).  Brought to Massachusetts just under 5 years ago, stored in a heated & air conditioned garage.  This chassis has a full, clean, Massachusetts title and I have the OEM VIN plate.
  • Chassis was full stripped and professionally sandblasted by Superior Sandblasting out of Medway, MA.
  • Any and all spots of corrosion were cut out and replaced by fresh 16 gauge sheetmetal (same as OEM), and fully seam-welded in.  Any suspected seams were fully seam welded as well.
  • Entire chassis was acid-etched, and received an full coat of POR-15.  Prior to cure, all seams were treated to fresh Eastwood Seam Sealer.  Prior to that cure, the entire chassis received a second full coat of POR-15.
  • Entire underside received a full coat of POR-15 Undercoating (to ensure compatibility with the regular POR-15).  After curing, the entire underside received a full coating of Hercules truck bed liner to provide additional protection and help simulate the heavy coating Saab had used originally.
  • ALL suspension pieces were sandblasted and powdercoated (upper & lower A-Arms, rear “axle”, steering knuckles, brake backing plates, rear control arms, driveshafts, front spring perches, etc…).  Brand new bushings all around.
  • Brand new springs were made up by Coil Spring Specialties based on the OEM Sonett springs.  Springs were wound with the correct spring rates and wire thickness, but with 3/4″ drop to improve handling.  According to Jack Ashcraft, this one step makes the biggest improvement in Sonett handling of everything you can do.  Also did brand new rear upper spring perches, which were a surprisingly high $290.00 for the pair..!?!
  • Brand new bearings front and rear, packed with Mobil 1 Synthetic grease.
  • Freshly rebuilt brake master cylinder by White Post Restoration with documentation.  Brand new cupronickel brake lines.  Brand new front rotors (with high temp painted rotor hubs and edges to prevent rusting), front brake pads (EBC Greenstuff street performance pads), rebuilt and coated front calipers.  New rear brake cylinders and shoes, refurbished and coated rear brake drums (POR-15 with POR-15 high temp top coat).  Brand new correct brake fluid reservoir.
  • Brand new Wilwood clutch master with hardened clevis and bolt.  Brand new correct clutch fluid reservoir.
  • Freshly rebuilt steering rack by The Rebuilding Factory in California.
  • Most interior contacting surfaces coated with noise and heat rejecting rubberized mats.
  • Brand new 2 gauge battery wire run front to back.  Pure, multi-strand copper, welding cable was used, and clear heat shrink sleeve bonded to much of it to provide additional protection.  Secured with rubber isolated stainless steel clamps.
  • Brand new, custom made, handbrake cables were made based on OEM cables.  These are not available for “off-the-shelf” purchase typically.
  • Custom, 16 gauge stainless steel, pedal cover sheet (vs flimsy OEM standard steel one) to help prevent vibrations and noise transfer.  Will never rust.
  • Every single nut and bolt replace in either beefy Grade 8 or stainless steel depending on strength required.
  • Pedal stand is fully sandblasted and restored, with new stainless metric pins.  New rubber footpads (not yet installed).
  • Set of five “Soccerball” wheels in good condition.  Not yet refurbished, but workable to move the car around.
  • Every single boot and seal has been replaced, without exception:  inner and outer CV boots, new A-Arm bumpers, new bumpstops, new steering rack boots, all grease seals, etc)


So, there you have the vast majority of it.  It literally was a “nut and bolt” restoration that reads like a wishlist of everything you could think of.  I skipped nothing and spared no expense.  What can I say, I just wanted to do it right.  This chassis will come with a good condition fiberglass body shell.  All of the glass is included, and it all looks to be in very good condition.  I also have virtually all of the interior parts as well that will go with it (seats, dash, upholstery, etc).  I’m hoping this chassis is the perfect basis for one of you girls or guys to built the perfect Sonett.  I’m located in Central Massachusetts, so pickup is obviously easiest.  I could arrange for a delivery in an hour or so radius, but if you’re much further away you’re welcome to send the transport of your choice.

In terms of money, I have $4,000.00 in material receipts alone, plus the cost of the car to begin with, plus well over a hundred hours of labor.  Your local stealership or professional restorer would no doubt look for $10,000.00 to cover the labor and welding, which I am obviously not looking for.  But at around $20,000.00 total all in, it’s not insignificant.  Is $5,000.00 reasonable?  That puts me at about 25 cents on the dollar, and a fantastic bargain for someone.  Let’s talk if your interested (jcayea99 at gmail is best way to reach me).  But I can’t think of a nicer chassis available to the vintage Saab community.


Life is what happens while you’re making other plans…

I always got a kick out of that famous John Lennon saying, because it really is true.  It’s hard to believe I’m coming up on FIVE years of owning the Sonett.  My goal was to build a technically superior Sonett, and on many of those components I feel like I’ve succeeded.  There has been a lot of great work done, but I don’t think it’s going to get finished.  A bunch of events have come together to slowly change what my plans are.

First up is my son working towards his driver’s license.  Younger generations tend to favor Asian import cars, so last February we picked up a Mitsubishi Eclipse GS.  It ended needing a fair amount of work more than expected…which is an understatement…  So a full set of Stoptech brakes (pads, rotors, calipers), new Focal 18″ wheels with BF Goodrich Comp-2 tires, VIS carbon fiber hood, DC Sports cold air intake, stainless cat back exhaust, new front bumper/radiator support/headlights, and a ton of rustproofing later… we still have more work to go.  But seeing my son smile makes every busted knuckle and cash hemorrhage well worth it!  I would do it again in a nanosecond.

BC756178-2EFF-4E12-8AEE-450D1B965983

Second up is my employer.  I started there two years ago, and quickly realized I was surrounded by some of the craziest gearheads on the East Coast!  The cars are assorted, but all share one trait:  the love of horsepower.  We have twin-turbo Porsches (two of them!), a 707-horse Challenger Hellcat, a 750-horse Cadillac CTS-V, a 900-horse Mustang GT, and a Focus ST with a 650-horse turbo build underway.  What can I say?  I got bit by the horsepower bug and a few months back picked up a leftover 2017 Chevrolet Camaro SS.  With the 455 horsepower LT1 engine and blazing fast 8-speed auto to go with a full aluminum frame, it seemed like the perfect platform for a fast car.  And it didn’t disappoint, running a 12.1 @ 114 bone stock, smoking a ton of “more powerful” cars that day too.  And all that with heated and ventilated seats, heated steering wheel, navigation, color heads up display, blind spot warning, etc!?!  It’s insane where muscle cars have gone lately.  It’s no one-trick pony either, it pulls near 1.0 G on the skidpad with stock tires, 60-to-0 braking of only 117 feet (Brembo brakes all around), and cruises like a good citizen when your friendly law enforcement officer is around…  And like any good gearhead, I recently bought a Whipple supercharger for it which should push horsepower up near 700…

2A98E605-CD09-4957-A782-50F5B198BB96

66339A7A-92A6-4158-B3BA-C3D9D4F452C4

And since I now have a car that I’m bringing to the track, I know it’s just a matter of time before I grenade something.  I’m not loving the idea of breaking a halfshaft two hours away from home, so I decided I needed something to be able to tow my car with.  My company car 2017 Ford Explorer wasn’t going to cut it, and frankly it was getting a little rough around the edges after 80,000 miles.  So I went for the gold and submitted on a 2019 Toyota Sequoia Limited to company ownership.  Amazingly, I didn’t get fired, and the beast is now in my driveway!  With 381 horsepower and 401 ft/lbs of torque, and an integrated trailering package with 4 & 7 pin connectors ready to go, trailering the Camaro should be a non-issue.  I was pleasantly surprised at all the tech in this “old-school” SUV:  lane departure/blind spot/rear cross traffic warnings, full LED head and fog lights, sonar parking sensors front & rear, backup camera, radar adaptive cruise control, automatic high beams, power folding third row seats, power liftgate, 20″ wheels, etc.   So far I’m loving it.

1BD2A8B4-758D-43E5-9350-ED4F23E5815A

So, that leaves me with the following that I am offering up to my loyal readers:

  • Titled 30,000 miles Sonett chassis:  fully restored.  Professionally sandblasted, fully welded, double POR-15 coated, brand new springs and poly bushings, fully refurbished steering rack & brake master cylinder, powdercoated suspension (all of it!), new brake lines, all new brake components (rotors/pads/hardware), cupronickel brake lines, new bearings with synthetic grease, etc….  You guys have read this blog and know how much work this was.
  • Fully rebuilt and bulletproof V4 engine:  fully machined with one of a kind CNC ported cylinder heads, forged Wiseco pistons, fully balanced rotating assembly, ARP head and main studs, ARP rod bolts, steel timing gears, new oil pump/pan/driveshaft, rare timing cover without fan bearing, new Jack Lawrence street cam with upgraded valvesprings/retainers/lifters, etc.  This was designed to handle a turbocharged application of 200+ horsepower.  Jack Ashcraft gets $6K for a basic rebuild, and with all due respect, this engine is light years past that.
  • [EDIT:  Gearbox is already sold!] Beefcake V4 gearbox:  virtually all new bearings (believe only one was reused since it was in mint condition), all new seals, Jack Lawrence custom sleeved/pressed/welded freewheel, powdercoated linkage & throwout bearing arm, POR-15 coated case, synthetic oil, etc.  Again, a basic rebuild is $2400 normally, and this gearbox  is obviously beyond that and has been designed to handle the above 200+ horse engine.
  • Full V4 fuel injection setup:  custom machined two-barrel intake manifold, with CNC adapter plates to handle a 2.0T throttle body, fuel rail prototypes for you to copy, brand new GM LS3-style fuel injectors, distributor replacement prototype, valve covers with custom coil mounts, brand new GM LS2-style coils, new trigger wheel with sensor and bracket, custom marine-grade aluminum fuel tank, etc.  Virtually all the development work is done to add sequential, coil-on-plug, EFI to your V4!  Again, I haven’t seen anything else like this out there, and this is a game-changing addition to your ride.  Thousands invested in this setup.

So, if any of my loyal readers are interested in any of this stuff, just let me know.  I know that you never see anything close to full price when you sell car parts, so I’m happy to work with you guys on what you think it’s worth.  Honestly, I’d like to see you guys get some use out of this stuff.  It was a lot of work, and I don’t want to see it go to waste.  If there is something you want to inquire about, send me a note at jcayea99 at gmail.  There are obviously pictures of just about all of this stuff in the blog, but I have additional pictures that I can send as well.

Thanks again to all of you for following along over the past few years.  I really loved all the emails from you guys (Roger, Reed, Jonathan, Simon, David, Adam, just to name a few). Hopefully you found something useful in all these posts, or at least something that you got a chuckle out of.   Can I ask you guys for one last favor?  Stop by my wife’s online website (https://stripedcatmetalworks.com/) and pickup an honest-to-goodness handmade piece of jewelry for your wife/significant other.  Remember, keeping the boss happy means she might look the other way when it comes to your ill-advised automotive ventures…!  😉

And remember to watch out for those hidden wasp nests…!!!


Winter of 2017/2018 Hibernation Report

Well, with winter firmly entrenched here in New England and our two NG 9-5’s firmly occupying our garage, there isn’t a lot of room for Sonett work.  But that minor detail isn’t going to stop me!  With the long block together, there is still a lot to do.

It’s hard to believe I’m so far into this project without doing any business with Jack Ashcraft, who is a noted Sonett specialist.  I guess I’m just not following the typical “rebuild playbook”.  But I had a component I didn’t know much about, and I knew he did…the wiper motor!  I don’t need it now, but will at some point.  And frankly, I got sick of tripping over it in my garage.  So I packed it up and shipped it out to Oregon.


A couple of weeks later, the refurbished unit shows up.  Jack cleaned out the 40 year old grease and dirt, cleans up and paints it, and checks out the motor and internals.  He also runs it on his test bench and gives you instructions on how to get it to “park” correctly if you’re dumb enough to pull the spiral cable out of the sleeve…which of course I did…  So, one part ready to go for when the time comes.  I boxed it up well and put it away for safekeeping.


Next up is figuring out a way to time my motor.  I’m not planning on using a distributor (!) so I looked about and found a site the sells toothed “trigger wheels”.  It’s a site in the UK and they allow you to pick the right tooth setup (36-1 in my case) and the right size too.  So I measured up the diameter of my balance shaft pulley and ordered up a wheel to fit it perfectly.  I also ordered a universal sensor and bracket in case we need them with the new EFI system.  Not sure how it will get mounted to the pulley yet, but that will get figured out soon.


Next up was an ignition for said EFI system.  I decided to go with LS2 style ignition similar to my brother Jake’s monster GTO project.  I figured if I ran the same thing he does, then I can call him for tech support when mine doesn’t work!  Jake sandblasted the old V4 valvecovers, welded on standoffs for the new coilpacks, and powdercoated them black.  Beautiful, and one of a kind!

6F1258CD-F210-4E3D-95E2-0B756B5A648C

I jumped online and ordered up new coils.  Technically, they are D585 coils that come on the truck versions of the LS motors.  Jake had welded the standoffs to fit these coils, so I bought four brand new GM coilpacks and then picked up some stainless cap screws and lockwashers to mount them with.  So happy with the finished result!  This will let us have absolutely superior ignition firepower to any other V4 I’ve ever seen.  Plus the plug wires will just be a few inches long, as opposed to a foot or two long in most cases.  If this were a combat operation, this setup is the nuclear option!


With birthday number 42 rolling around, I woke up to a pleasant surprise from Mrs. Sonett… a Sonett birthday cake!!!  It was delicious!  And it was a great reminder of what my car is supposed to look like, since the only thing I see these days is a gigantic pile of Sonett pieces…  maybe if I just tell people those pieces are hibernating like the local bears and that they will wake up for Spring soon, I’ll feel better about it!

A1253542-F413-4A13-B9D8-9D0585F5B7D4

A Christmas Story

Well, it’s Christmas 2017 and all is right with the world.  The “kids” (at 23 and 16, they aren’t really kids anymore…) have opened their Christmas presents, with a  haul that rivals some third world nations yearly Gross Domestic Product… We have a nice layer of nice white snow here in Massachusetts (the only thing this state has yet to tax…), Mrs. Sonett is swearing at her Zelda game for the fancy new Nintendo Switch game console, and my cat (Maximilian, aka Max) is taking up the entire loveseat by himself for his daily mid-afternoon nap (how does a 9 pound cat completely rule a household of people?!?).  Christmas time always makes me think back to good ole Ralphie in A Christmas Story.  His quest?  To get a Daisy Red Ryder BB Gun.   My quest?  To get my Sonett running.

IMG_1914

To that end, I needed yet even *more* prep work.  Much like Ralphie begged for his BB Gun, I begged my brother Jake for some bead blasting and powdercoating!  First up was my “unobtanium” non-fan-bearing V4 timing cover version 2.0.  What happened to version 1.0?  I tried to weld up the small hole in the front so that it could be powdercoated.  Then it cracked.  Then I tried to get the crack welded, and it burned through…twice…  So, I pretty much ruined a generally unavailable piece…  I managed to get my hands on a second one, and this one is just getting painted!  Jake bead blasted it to gently remove the old paint, and I gave it a coat of POR-15 Detail Paint.  I popped out the old balance shaft seal, and pressed in a new double lip style seal instead.  I also gave Jake the balance shaft pulley, alternator brackets and motor mount covers.  A couple of days later, they were all powdercoated black and ready to go!

I started install my new all-metal timing gears that I bought from Jack Lawrence a few months ago.  Thankfully it’s easy to tell the balance shaft gear and crank gear apart, since the crank gear will have 2 dots instead of 1.  That lets you line it up with both the cam gear and the balance shaft gear.  So I put both the balance shaft gear and crank gear on.  Next up is the timing cover adapter.  So I had that cleaned up to remove all the rust, gave both the block and adapter a light coat of “Right Stuff” gasket maker, and sandwiched in the gasket between them.  With that in place, you can now pop the cam gear on and torque down that bolt.  Another coat of gasket maker, and another gasket, and now the timing cover itself goes on (pro tip from my pal Roger:  make sure the balance shaft opening is centered around the actual shaft stub!).

Just like it’s not a proper Christmas without a great movie or two (love the original Die Hard), it’s not a proper V4 rebuild without replacing the crank pilot bearing.  I gave it a very light coat of Redline Synthetic grease (super high temp drop point means it should stay put) and carefully pressed it into the crank hub.  Next up is my triple modified flywheel!  It was lightened by Dyno Machine, then surfaced by RAD Auto Machine, then setup for my new clutch by Motor Sport Services… yikes, hope I never need to buy another one!  I mounted it up on the hub, and broke out my new ARP flywheel bolts.  The bolts get Loctite on the threads and ARP Ultra Torque under the bolt heads to help achieve the required torque.

IMG_1878

With that on, I flipped the block over and installed my new oil pump, oil pump driveshaft, and pickup using the new thin gaskets.  Don’t put any sealer on these gaskets!  Torque them all to the factory spec after working some fresh oil into the new oil pump.  Next up is a new Royal Purple oil filter.  This guy will only be on for a very short period of time to facilitate engine break in.  I broke out my “refurbished NOS” oil pan and some brand new stainless (of course) oil pan bolts, and tightened down the pan approximately 1,477 times to get all of the bolts properly torqued…

IMG_1893

With the short block done, next up are my custom heads.  Good friend Mark and I worked on our own version of these heads that we felt could really only be done justice by way of a CNC machine.  It’s hard to explain how nice they came out!  The chambers are all exactly the same!  They are opened up in a way that does a beautiful job of unshrouding the new oversize valves, and getting the compression ratio down to a more reasonable number for use with a turbo (~9.2).  The exhaust port has a new shape; square versus round.  I didn’t like hogging the top and bottom of the port since the majority of the flow restriction is from left-to-right.  So we’ll use a custom CNC exhaust adapter to get the new 1.75″ stainless exhaust pipes to mate up.  The intake had the ridiculously restrictive intake valve stem guide boss machined off, and the ports were opened up to match the gasket openings too.  RAD gave them a very light surfacing and installed the new oversize valves.  They also setup the new heavier valve springs, spring dampers, and seals.

I screwed in yet more ARP studs, this time replacing the factory head bolts.  The studs just get lightly snugged in, not tightened.  All of the torque will happen on the nuts and washers instead.  I oiled up the lifters and dropped them in, then slid the head gasket down onto the block.  The heads slid down the studs onto the gasket, and I torqued them down in three equal amounts to 90 ft/lbs.  It’s worth noting that all ARP bolts will use much higher torque settings than the OEM bolts!

So, over two years later, the engine is finally coming back together.  So, just like Ralphie, it looks like I’m getting my wish!  But given the current political climate, it’s probably for the best that Ralphie didn’t try to ask for a gun these days…!

img_1913.png


Progress… sort of

Any expectations on vintage Saabs must be tempered, sort of like being an actor in Hollywood these days.  In the old days, “I got a role in a movie!” would have been a reason to celebrate.  Now, it’s “I got a role in a movie…with Kevin Spacey…”.  So, that being said, I’m happy to report some actual good news on the motor front.  Progress!  Sort of…

IMG_1860

Several months back I traded some emails with Jack Ashcraft where I asked how I could get my hands on a smaller, lighter starter for my V4.  I mean, after all, why do we have such a huge starter for a little motor?  It’s like our starters hung out with Roger Clemens personal trainer…  So I asked Jack if he knows of any lightweight and/or smaller starters and his reply was:  “On the starter—get over it”.  Hmmm… challenge accepted…with tempered expectations, of course!  After the better part of a year of looking, I finally connected up with a factory overseas who was willing to help me research the issue.  I’m happy to report that I was able to get them to source me a starter that is literally half the weight!  In addition its a full inch smaller in diameter, which is good news for those interested in running low profile engine mounts.  And best of all, it actually has more starting torque!  So if you’ve upped the compression on your V4, you’ll be good to go.

In addition to the new starter, I decided to step up the cam profile as well.  This is another situation where things can go off the rails pretty quickly.  Everyone wants max power, but when it comes to cams, a huge cam in a street car is a pretty quick way to ruin drivability.  Choppy idle, no vacuum, and the low-end torque of an electric weedwacker awaits those who fall into this trap!  So, as usual, I reached out to V4 guru Jack Lawrence and he suggested his “street” camshaft.  The more aggressive profile gets you a power band of 3500-7000 RPMS.  So I sent off my stock cam (core) after the new one arrived.  Since these cams are reground, you need to run taller lifters to compensate.  And according to Jack, the stock lifters weigh as much “as a dead dinosaur!”, so it was good to make a change on that front anyway.  So along with the cam, I ordered up his lightweight hollow lifters.    Just to verify Jack’s claim, I threw a stock lifter on Mrs. Sonett’s postage scale… 102.9 grams, while the new lifters checked in at 76.3 grams.  Knocking 30% off your weight in the valvetrain is unreal!  It allows higher RPM operation without needing substantially higher spring rates.  So more good news there.

Since I was on a roll with exceeding my expectations, I decided to take a look for new flywheel mounting bolts.  The stock ones are one-time use only (torque-to-yield) and are worth about the same as a used 8-track.  Everyone knows my fixation with ARP bolts… but from what I understand, there are worse fixations to have… I think there is a Matt Lauer joke in there somewhere…  More good news, ARP makes part 151-2801, which works for V4’s!   Another box checked off.

IMG_1672

With most of the prep work done, it was time to start putting things together (without too high of hopes, of course!).  I lubed up the cam and balance shafts and put them into the block (machine shop had previously installed the new bearings).  I coated the block plugs with some black “Right Stuff” oil-resistant sealer and tapped those in too.


Speaking of bolts, I don’t want to use any of the factory ones for my mains and heads.  We know how important good bolts are, right?  Since no one makes great head and/or main studs, I decided to come up with some on my own.  Working with ARP, I’m happy to report that I now have both main and head studs for the V4!  Studs allow much more even clamping force, which is probably a good thing at 7000 RPMS and under boost…  I screwed them into the block (by hand until finger snug), snapped down the new bearings, and checked my clearances with some plastigauge.  With everything looking good, I applied some Royal Purple Max Tuff to the bearings and dropped in the prepared crankshaft.  With the other half of the bearings and caps on, I broke out the torque wrench and torqued down the main caps!

With the crank in, I put the pistons into the ring compressor and tapped them into the block, making sure to put assembly lube on the rod bearings too.  A little ARP fastener lube on the ARP rod bolts, and those got torqued down to spec too.  With ARP lube, you get superior torque accuracy (vs oil, etc), so it’s the only way to fly.  The caps were numbered so make sure those match up when putting things back together.  An short time later, all four forged pistons and resized rods were in the block.

20171025_205909

So progress and good news!  And I’m not telling CNN, that way it won’t be fake news…!!!

Discerning the Transmundane

Any video gamers in our Vintage Saab crew these days?  If there are, you might remember (or even still play) a game called Skyrim.  Honestly, it’s one of my all time favorites.  It’s sort of like Dungeons & Dragons meeting Halo.  In this game, there is a mission called Discerning the Transmundane, where the primary character meets a brilliant, but now mad, scholar who needs to transcribe this weird ancient Dwarven lexicon under the direction of an evil god.  Playing through it really made me think…why did this seem familiar?  I know, I have a weird ancient V4 gearbox to rebuild!

There aren’t many people volunteering to tear into the V4 gearboxes these days.  ‘It’s one of those components that many people look at like a mysterious black box, or a nuclear reactor, or an IRS tax form.  Honestly, I’m probably one of those people.  I understand the basics of how a transmission works, but that’s a far cry from feeling confident enough to tackle a tear down and rebuild.  And to make matters worse, we’re adding a bunch of power to an already-questionable gearbox (depending on whose opinion you read online).  And while I may not be doing the actual gearbox rebuild, since I’m involved you know we’re going to sneak in some “custom enhancements”…

IMG_1765

As you may remember, I dropped off the Sonett gearbox a few months back after 47 applications of “environmentally friendly” degreaser.  While that was getting taken apart, I was given a homework assignment of my own: fix up the gearbox linkage & drivers, throwout bearing arm, and bellhousing.  First up was to disassemble the bellhousing to get the tension rod and throwout bearing arm out.  The arm was in good mechanical shape, and did not need rebuilding thankfully.    So with the arm, tension rod, and drivers in hand; I brought them all down to Western Mass Powdercoating for sandblasting and powdercoating.  The original paint on the drivers was some sort of green (leftover from Saab’s WWII production?), so I did my best to match that up with the powdercoat colors that were available, and asked them to not only powdercoat the drivers, but to also do the tension rod, linkage bracket, and throwout arm.  They took them in and about a week later they were ready to go back home.  Kind of like when our daughter drops off her cats for pet sitting…after a week, I’m ready for them to go back home too!


While the gearbox as apart, I knew the freewheel was going to get “neutered”.  This is a common V4 gearbox “mod”, but as always, there’s more to the story.  Sonett guru Jack Lawrence was worried that even that might not be enough given the power I’m trying to add to my engine.  If you’ve even seen the freewheel hub assembly, there are a bunch of little teeth that engage to transfer the power, and to make matters worse not all of the teeth are engaged at any one time.  So even with the freewheel typically “locked out”, the freewheel “teeth” are just not that beefy, so Jack suggested a custom method of eliminating the freewheel.  First he machines the hub to receive a steel sleeve that essentially binds the hub assembly together, then presses that sleeve into the assembly.  Once in there, both the inner and outer portion of the sleeve gets fully welded to assure a very solid input that will hopefully never break.  He also sent along a replacement gear and one of the main shaft bearings that was needed.  The new freewheel hub looks dramatically different… just like my bank account!


Back home, I took apart the funky Sonett III gearbox shift linkage.  It was all covered in grime and corrosion, so that wasn’t going to work.  Some quality time with a wire wheel cleaned those up, but the smallest part ended up being the biggest pain.  There is a small boot that helps protect one of the linkage joints, but I could not find it anywhere!  After looking at several different dust boots online, I decided to take a chance with one designed for an International Harvester… wish I was making this up…!  This boot looked reasonably close, but not perfect.  The opening needed to increase to 5/8″ of an inch, so my step drill made short work of that.  Next, it needed to be shortened.  A few minutes later, this part seemed to fit better than stock!  And certainly better than the 45 year old boot that had literally fallen off on its own…


The bellhousing needed some major cleanup work too.  After scrubbing it all down, I took my die grinder with a scotchbrite-style abrasive “cookie” to clean up all the sealing surfaces.  After another dose of “environmentally-friendly” cleaner, I picked up yet another POR-15 product called Detail Paint.  This product is available in a few different styles (Cast Iron, Cast Aluminum, etc) and is designed to duplicate the original OEM casting look while still providing even coverage and corrosion resistance.  I went with the Cast Aluminum look, and gave the bellhousing a few coats on the exterior.  Looks like new!  The gearbox linkage cover also got the cookie treatment, and a coat of Detail Paint too.


Ready for reassembly, I popped the fresh clutch release arm back in using a new tension pin (3/16″ x 1″).  The linkage bracket got put back on the gearbox cover along with the freshly wire brushed linkage shaft and a dab of synthetic grease.  There are a couple of bushings inside the bracket, but thankfully they were in great shape with no excess shaft play.  I feel like there is an Anthony Weiner joke in that last sentence somewhere…?  In any event, I tied the cleaned up linkage shaft back onto the gearbox cover along with my International Harvester dust boot.  A zip tie provided temporary hold-together duty for the cover and bracket until is was time to go back on the gearbox itself.  The before and after is pretty crazy!


After completing my mission, I brought the parts over to Roger’s house, where he was installing virtually all new bearings and seals in my fully rebuilt gearbox.  He topped it off with my refurbished bellhousing and gave the rest of the gearbox a coat of Detail Paint as well.  Redline’s synthetic fluid went in now, just to make sure I didn’t put it in the car and forget the fluid…!   Because unlike Skyrim, even if you complete the mission, you still might get to do it all over again anyway!


Stop this thing now!

Well, with all the motor work and preparations underway, it seemed like a good time to talk about getting the brakes wrapped up.  Previously entries saw the disassembly, cleaning, and recoating of the front calipers with the POR-15 kit (“2017…year of the wall?) and installation of all new cupronickel brakes lines with braided stainless steel brake hoses (“Braking Bad”).   And this really needs to be the final brake-related blog post because I’m simply running out of cheesy names for new blog posts!  With some good feedback of the last “Spaceballs” clip, I’ll just leave this here…  after all, what good is all this newfound horsepower if we can’t stop?

So, freshly rebuilt master cylinder, new fluid reservoirs, plus the above mentioned work, next up was reassembling the recoated front calipers.  That meant scrubbing out the front cylinders with fine steel wool and some brake fluid.  The brake pistons were pretty clean, but I gave them a quick scrub down too.  The cylinder bore needs a fluid seal, a “wiper” seal (prevents grit from getting to the fluid seal), and a retaining ring.  I soaked the seals in brake fluid, put them in, and then used a piece of wood to evenly tap in the retaining ring.  Know what happens if you lazily try to just tap in the ring without the piece of wood?  You get to buy another whole set of seals!  Good times!  Not that I would have any knowledge of that…. uhm… anyways…

With the front cylinders resealed, it was time to reassemble the front calipers.  Thankfully I had kept all the old hardware since it’s pretty hard to find these days.  The bad news?  I couldn’t tell how the giant clip was supposed to be positioned…  Reader “Eric from VT” came to the rescue (as he often does on SaabNet) by sending me a picture of  a fully assembled brake caliper.  I added a speed bleeder to each side as well, and they were now ready to go back on the car.  Given that he is from Vermont, maybe I should try to pay Eric in maple syrup and ski passes?

With a set of fresh front rotors (with painted hats to prevent rusting), I bolted the rebuilt calipers up.  Next up?  Brake pads.  I had assumed that there wasn’t much in the way of performance pads available for this car, given my experience with the rest of it.  Especially a set of pads that are ground at a weird angle!  But to my surprise, EBC makes a set of their “Green Stuff” pads that fit both the Sonett & 96.  These pads are commonly known for less dust and more bite than stock pads, and for under $60, it seemed like a great deal.  So, I added a new hardware kit from Skandix, and installed the new front pads.

The rear drums were a whole different challenge (surprise, surprise…).  I didn’t want to take a chance of reusing the old bearings, so I brought them to Dyno Machine.  Rich pressed out the old bearings, which…looked brand new.  Literally.  He thought the grease was so clean, that the previous owner must have changed them and never drove the car!  I had already bought a new set, so I decided to clean up and store the “old” ones for a rainy day.  Rich also sandblasted the drums and checked them out to make sure they were good to go without any further work.

Back home, I broke out the POR-15 again (again, so many references that I should be getting royalties!) and gave the drums a coat to prevent any rust.  I also had plenty of silver POR-15 high temp caliper paint left, so I gave the drums a follow up coat of that as well after letting the black basecoat dry.  The new bearings got packed with synthetic grease, and pressed into duty.  After a couple of days to thoroughly dry, I put them on the car and torqued down the castle net.

Ready to go, right?  Nope.  Brakes don’t really work without a pedal…  So I rummaged through the slowly-diminishing pile of zip lock bags on my workbench and pulled out the old pedals.  They were totally seized to the shaft…  So I tried a good soaking of PB Blaster, and a little heat, but no luck.  And so in a fit of rage, I proceeded to just go FULL ‘MERICA on it, and beat the living crap out it.  Good news?  It came apart.  Bad news?  I had vice grip marks all of over the shaft and the end was mushroomed from the hammer beatings…  Jake came to the rescue by carefully running it through his lathe to true it up, and then polished it out the remaining blemishes.  Thankfully no one will ever know! Until now…  oops…

IMG_1513

I wire brushed the pedals and hardware, and gave them a heavy coat of zinc rich primer, followed up by some industrial strength paint.  Petri from Skan Mobile Classics sent along new rubber pedal foot pads, and I’ll put those on once the car is a little closer to being finished.  For now, I put the pedals back on the shaft, added new M6 stainless steel dowel pins, and put it back in the car.  The brake master hooked right up, but the old clutch master bolt wouldn’t fit with my new clutch master.  Pegasus Auto Racing Supplies came to the rescue with their steel 5/16-24 heavy duty clevis.  They even offer a specific Grade 8 crossbolt kit for it!  So for under $25 bucks, I was able to bolt up my new Wilwood clutch master to the factory pedals.  With the moment of truth at hand, I added brake fluid, bled out the lines, and to my surprise… no leaks!  I carefully rolled the car forward and… OH CRAP!?!?!  IT ROLLED AWAY!?!

Just kidding!

IMG_1551

The car just migrated to the other side of the garage to make room for our recently-acquired 2011 9-5 Aero. And the new brakes worked perfectly.  But I’m not sure if hand pushing a car 2 miles per hour qualifies as a proper brake test…  But still, it stopped.  And the next test will hopefully be at a slightly faster (but not quite ludicrous) speed…